Tuesday, August 13, 2013

1/6 Len - Melty Blood

Len is my 8th kit completed in  August 2013. There's a bit of a backstory involving Len; my boyfriend is a Type-Moon fan and Len is one of his favorite characters. One day when I was surfing Mandarake I found Len for 3,000 yen on Mandarake. I quickly asked him if he wanted her and he did :p Ironically he had a picture of this kit from years ago but had no idea where she came from. Funny how that works out haha

Len was completed using acrylic paints, a brush, and pastels. She was also part of a WIP series I created here so you can take a look at how I build figures. Although she was a pretty easy (even boring) build I'm glad that she came out the way I imagined. I'm especially happy with her eyes :)

Thank you for taking a look!

Extra stuff: Puttying + Base

Since I didn't really have any room left in my WIP and I didn't want to drag things out I decided I'd just make a quick post about how I built the base and final work on my kit. I have never really built anything on a base before but I thought it would be cool if Len had a little flight of stairs so it looks like she walked down them and curtsied for a gentleman or something. I thought it would be easy...joke's on me LOL

Measuring the wood...it's a little too high here so I had to cut it down
After measuring each part I decided I wanted two stairs
Cutting the stairs out


Puttying/hiding gaps is pretty straightforward, you just have to have a lot of patience when it comes to seeing dents and errors. These gaps drove me nuts and not just because they were difficult...I was actually done with my kit a few days ago and when I was taking a few photos of Len she fell and the parts I puttied completely cracked -_______- Then when I redid them they cracked AGAIN so I just decided to reglue and fix the kit all over again. Anyway here is a few pictures of the puttying process:

^ I'm still wondering why her dress didn't just come in one piece...maybe because the arms would be too hard to attach? Either way I'm glad it's over lol

GK Compendium Part 4: Painting, Shading, and Sealing (2)

This blog post has also been crossposted over on my account on MFC here.

Hi and thanks for reading my WIP! These final steps are always my favorite part of the whole building process because the garage kit pops when in color. This post is also VERY PICTURE HEAVY because I wanted people to see how shading and taking time to paint the eyes works. This is PART TWO of the painting process and I hope this post is helpful and persuades some of you who are scared to paint a garage kit to start your first one.

Previous WIP posts can be found here:

GK Compendium Part 4: Painting, Shading, and Sealing (1)

This blog post has also been crossposted over on my account on MFC here.

Hi and thanks for reading one of the last parts of my WIP! These final steps are always my favorite part of the whole building process because the garage kit pops when in color. This post is PICTURE HEAVY because I wanted people to see how layers make a difference and how much time it takes me to paint my kit. I have also split this section into TWO PARTS because one would be way too picture-intensive. I hope this post is helpful and persuades some of you who are scared to paint a garage kit to start your first one.

Previous WIP posts can be found here:

Thursday, August 1, 2013

Halloween Remilia Scarlet - Ques Q

SHE'S HEEEEEEEEERE I am so happy
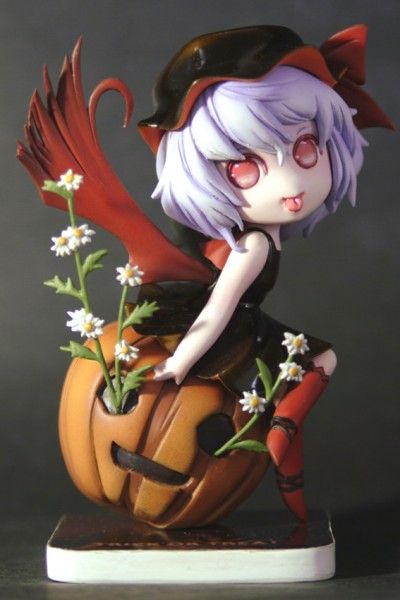
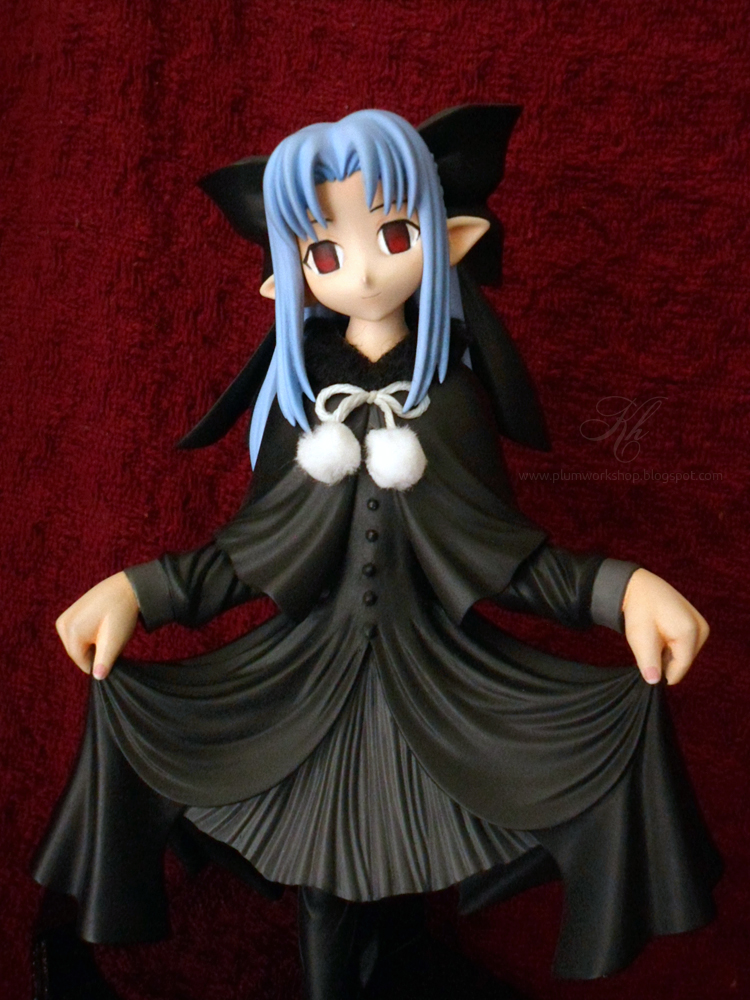
The GK in question
I have been waiting patiently for this GK since she was first shown at WF2011 Winter but she never seemed to show up for the right price and pretty much anything with the circle name Gate River is impossible to find even on Y!J OTL. Then Ques Q (bless that company) decided to come along and pick up this sculpt along with a Flandre!!!! Ques Q is really, really good about making all of their PVC into resin as well so they decided to release a resin version which I found on the Jp Mandarake for 5k :D Apparently Ques Q also sells their resin versions directly on their website for 6k so it's worth looking into if you have a proxy.
Eeeee Remi-chan
Instruction sheet
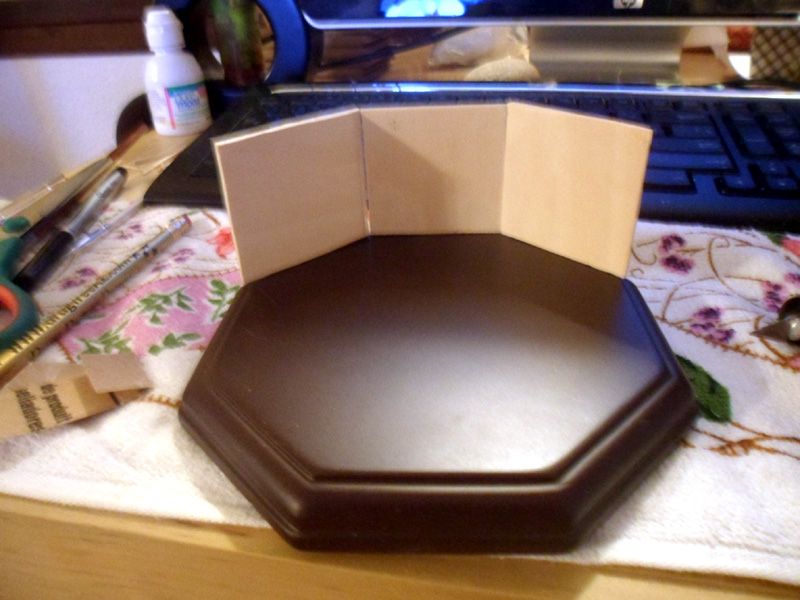
She came in a few days ago and I am thrilled. I've never bought from Ques Q before but the resin quality is beautiful and there are only a few tabs that need to be sanded before she's ready for priming and painting. Here's a few part pics :3:

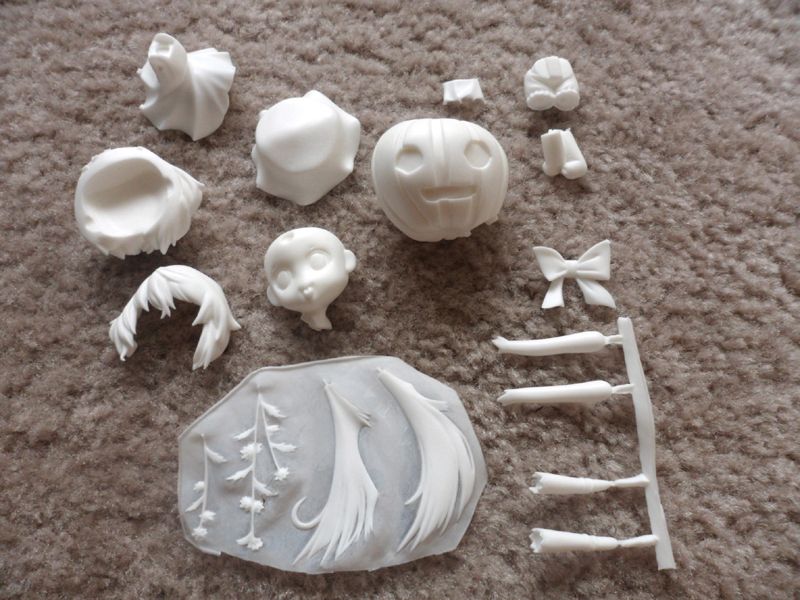
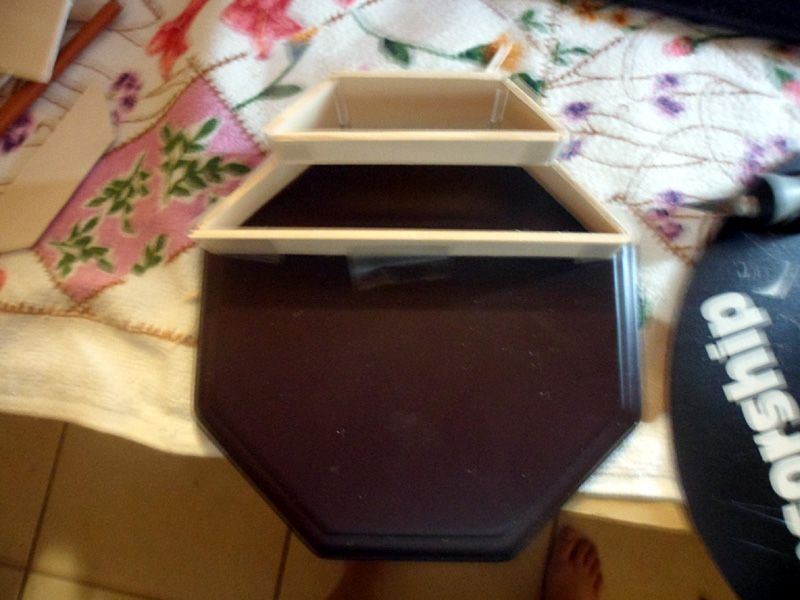
All of the parts, notice how white and clean the resin is compared to some other casts
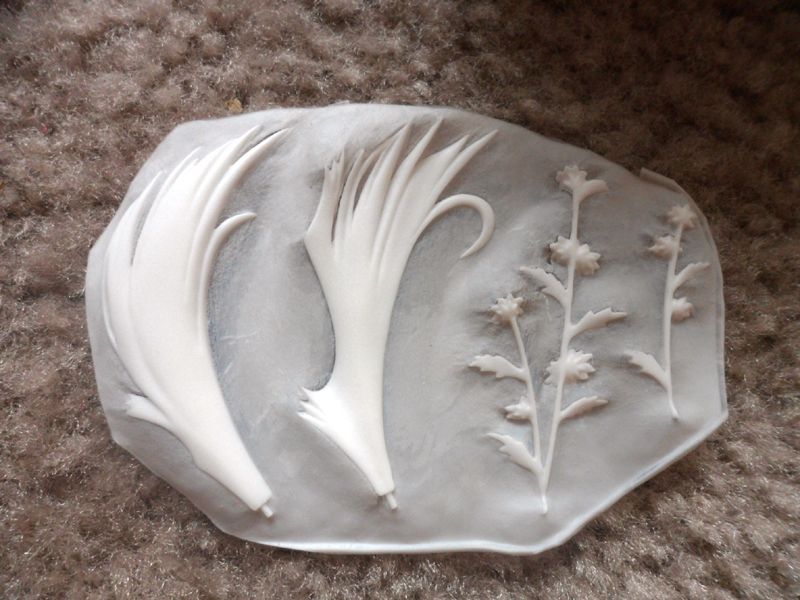
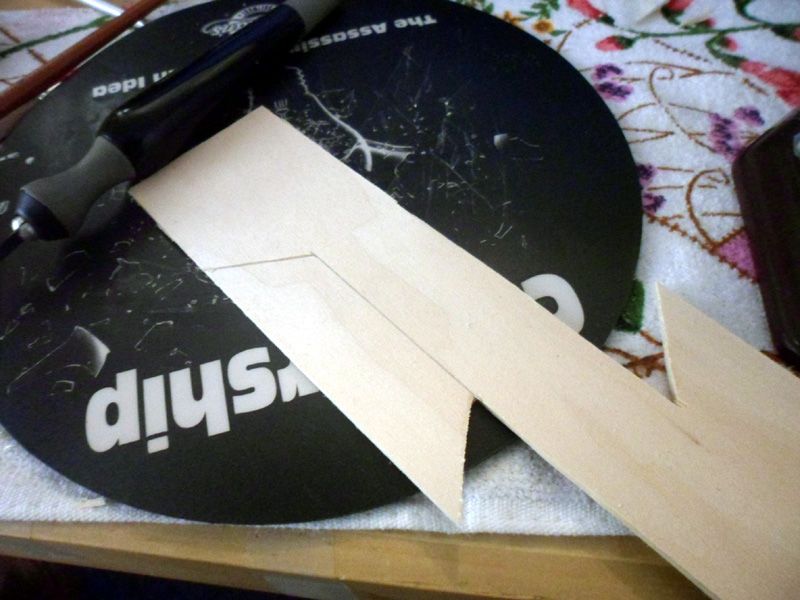
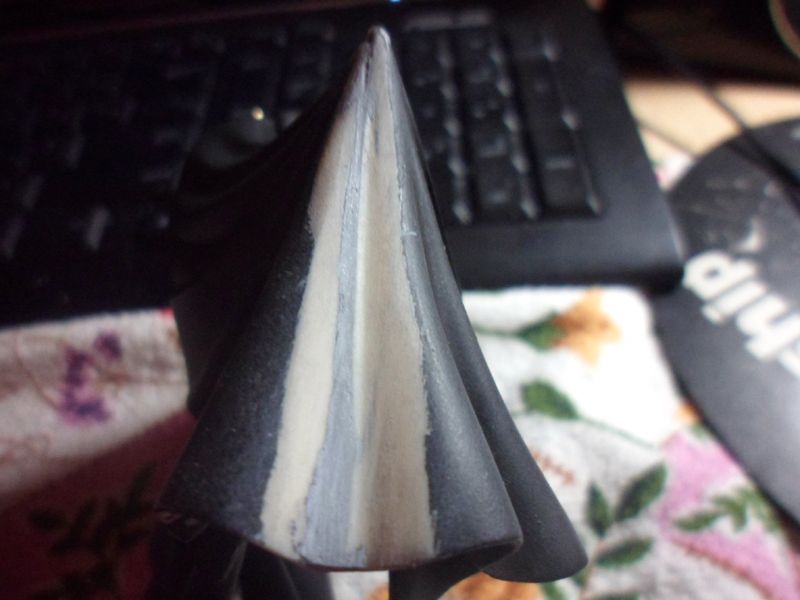
Wings + Flower pieces. Amazed that the stuff surrounding them is actually a VERY
thin layer of resin so you can just pop them out and lightly sand the sides
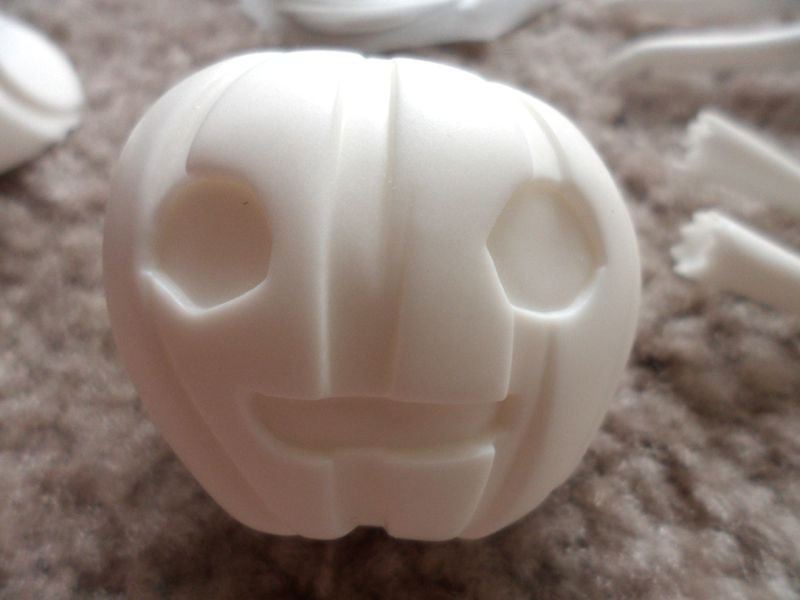
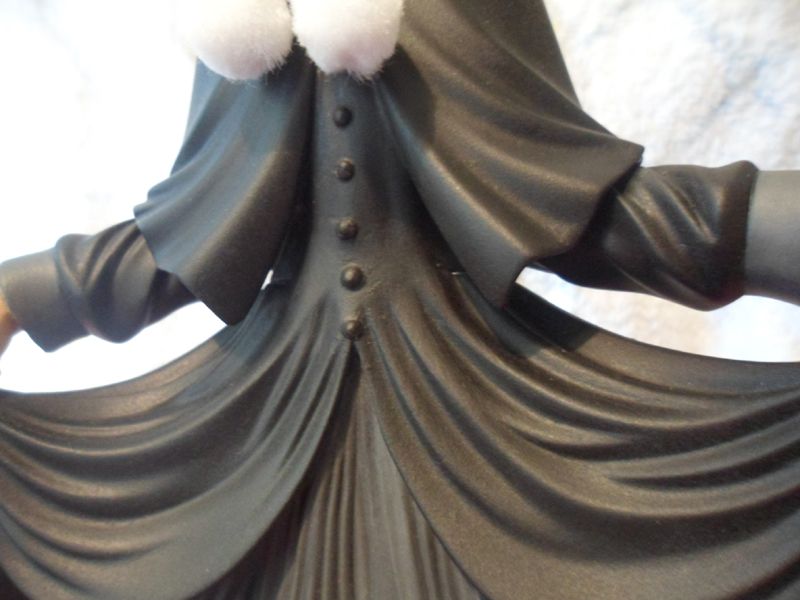
Very smiley pumpkin
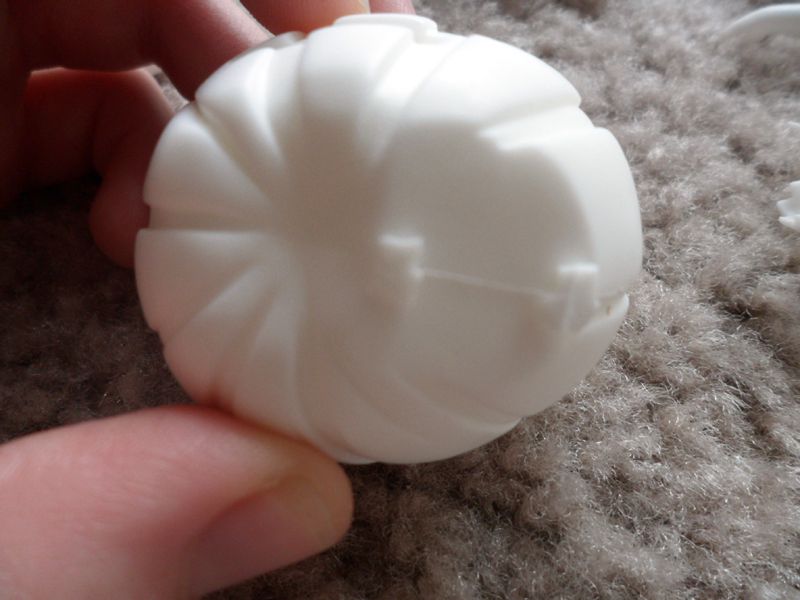
The largest tabs were on the bottom of the pumpkin
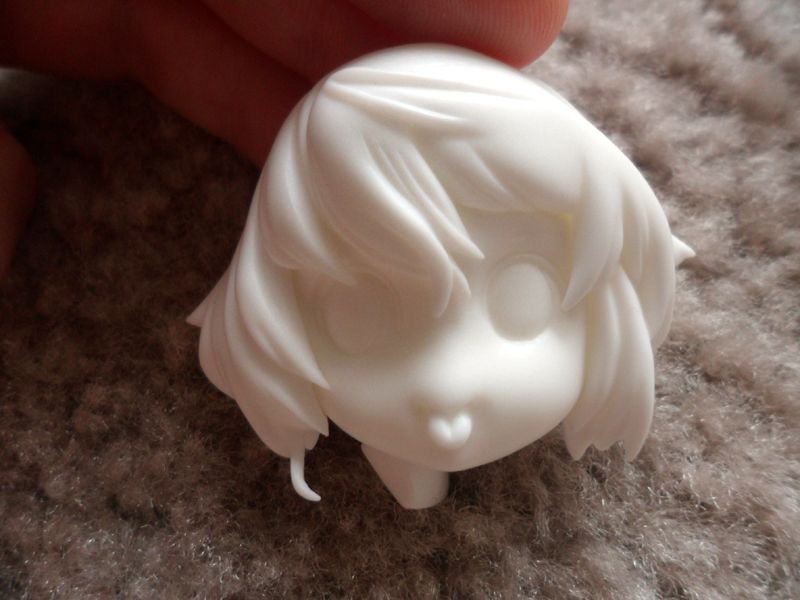
Her face is so precious
The kit is probably around 4" high when built but she's big enough you can get in there and paint lots of details. This is exactly the type of kit I love and I am thrilled to be able to paint her especially since I am not a fan of how the PVC's eyes turned out, they're a lot less dreamy and look more like decals lol. Now just have to decide how to paint her...