
This blog post has also been crossposted over on my account on MFC here.

The past two blog posts can be located here:
Part 1: Supplies and Background
Part 2: Sanding, Washing, Priming
-------------------------------------------------------------------------------------------------------------------------------------------------------------
In Part 2 of my WIP I discussed it is good practice to drill out any air bubbles you see because you do not want your kit looking pimply. Putty is a great tool because you can sculpt new parts and fix gaps/air bubbles. The yellow stuff is Tamiya Light-Curing Putty that dries extremely fast under fluorescent light (other putties take 6 hours to a day to fully cure). Don't be afraid to over-apply putty because it sands down easily!
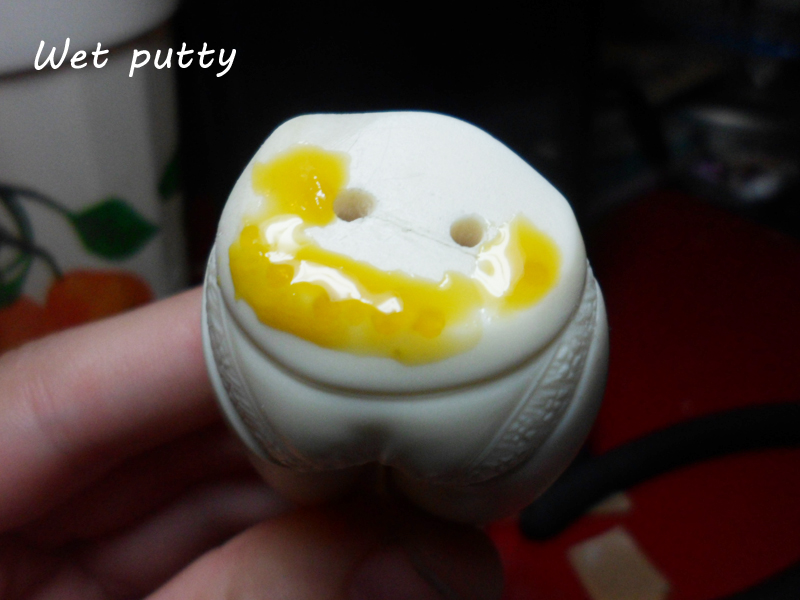 |
| Apply the putty generously to any bubbles you see to make sure they are completely filled. |
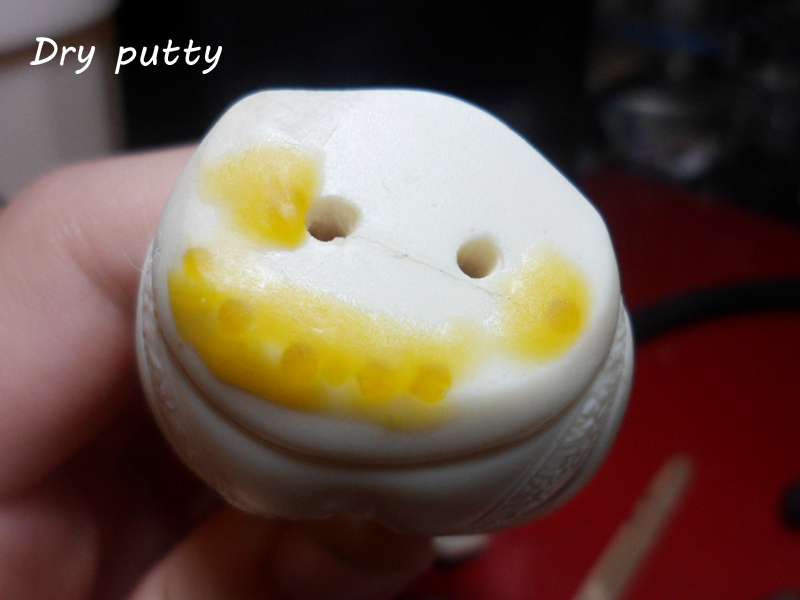 |
| Wait until the putty is hard and dry (no longer shiny). |
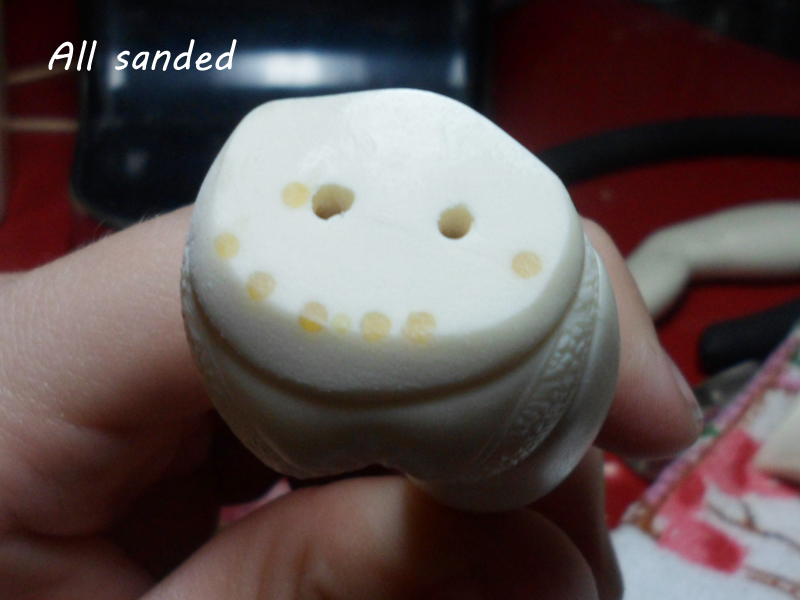 |
| Sand down the putty until you hit bare resin and the bubbles are filled. |
Bubbles are easy to fill and the result looks great once the kit is primed. This step may seem pointless but if you do not fill them in your paint will not coat the kit correctly. For a cleaner paintjob and a better looking kit never skip filling in bubbles and scratches because it definitely shows. :)
At some point when you build GKs you will need to fill gaps where joints do not connect. Resin can warp during the
casting process or you may accidentally sand too much. When this happens you can use
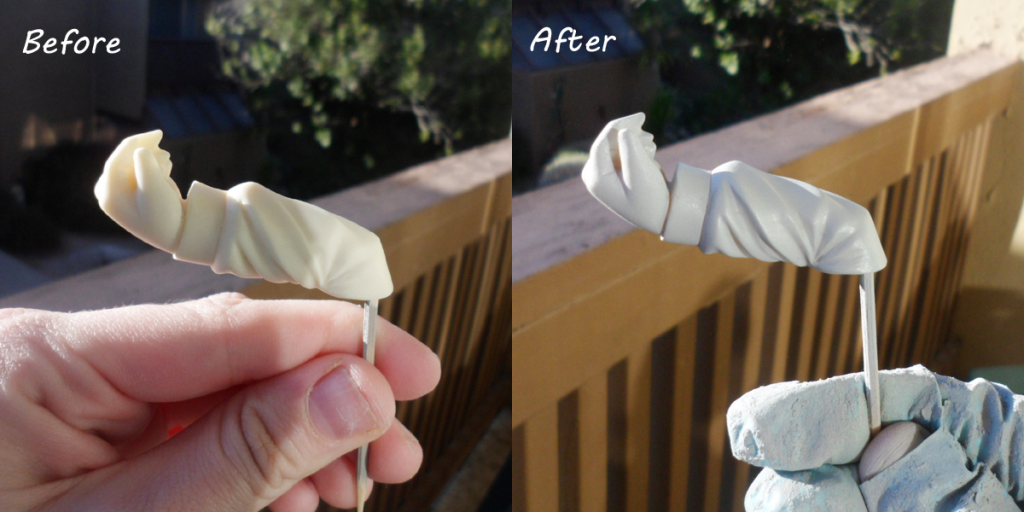
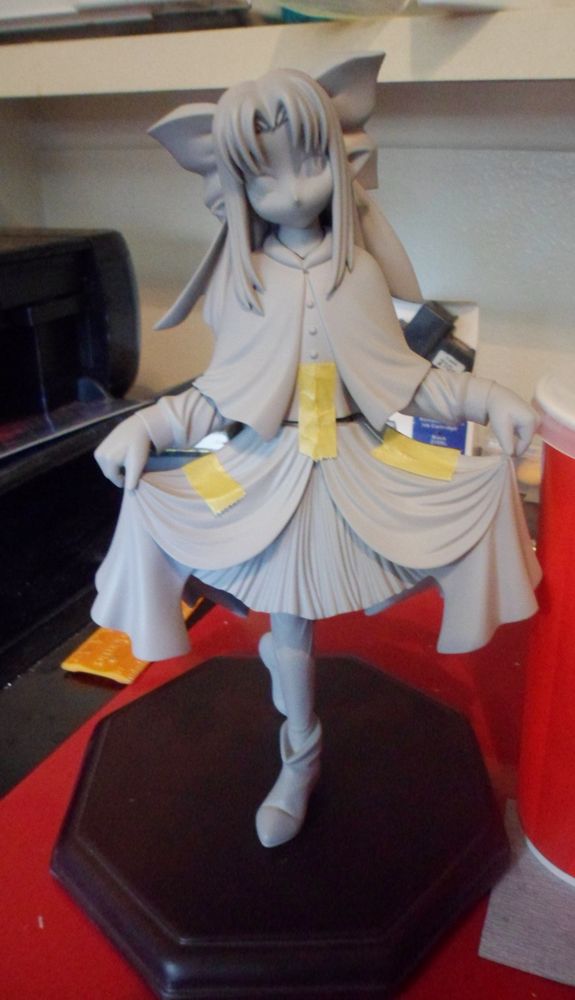
putty to correct gaps and make a joint look seamless. For example, in
this picture of Fuu, notice there is no line
connecting the kimono sleeve to the torso. Originally there was a large gap connecting the two parts. Many GK builders use this process to smooth out multiple hair pieces, weapons, etc. It
is usually best to wait until all parts of the kit are painted before puttying these joints since bulkier parts are harder to paint. This step is a little more advanced but it makes your kit
look so much better. I may or may not do this with my Len kit where her skirt
connects to her torso, we'll see :p
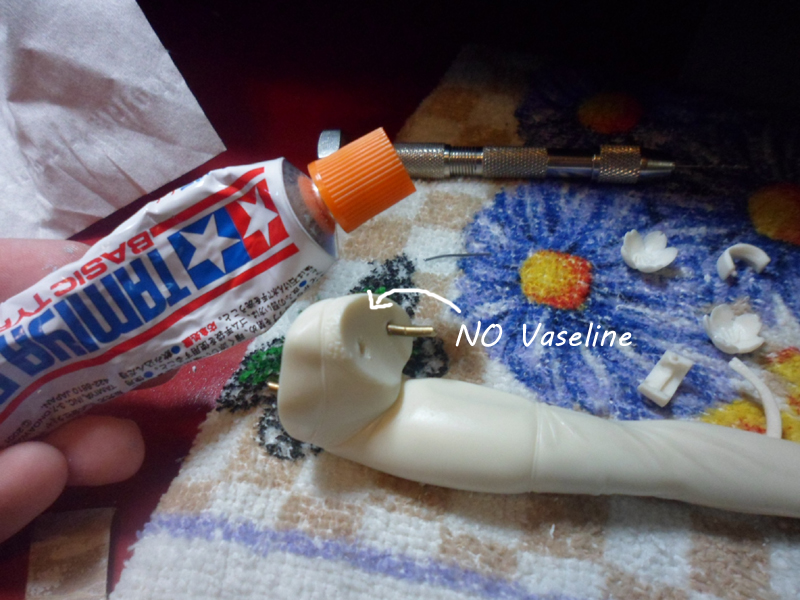
Here's how to fix a gap that does not fit correctly. This
process is trial-and-error so if it doesn't work the first
time don't give up! I am using Tamiya Basic putty in these photos since it is
easier for larger scale areas.
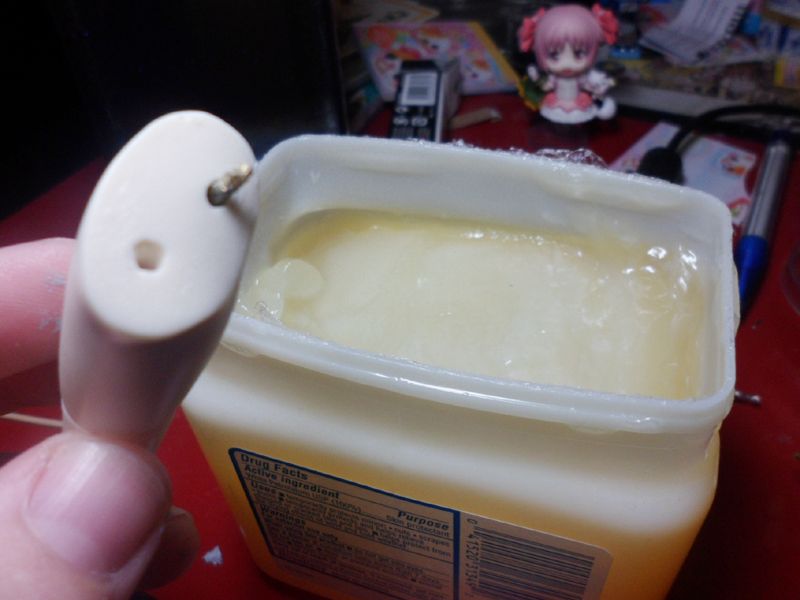 |
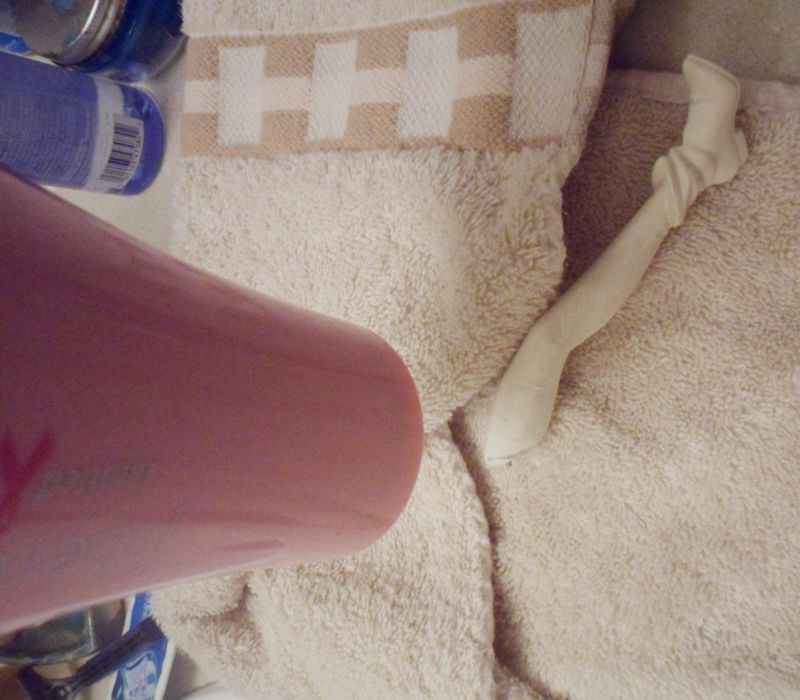
| Apply a thin layer of Vaseline to the part you don't want putty to stick to (Len's left leg). |
 |
| Take the other piece of your kit and make sure that it's sanded down so that the putty has something to stick to |
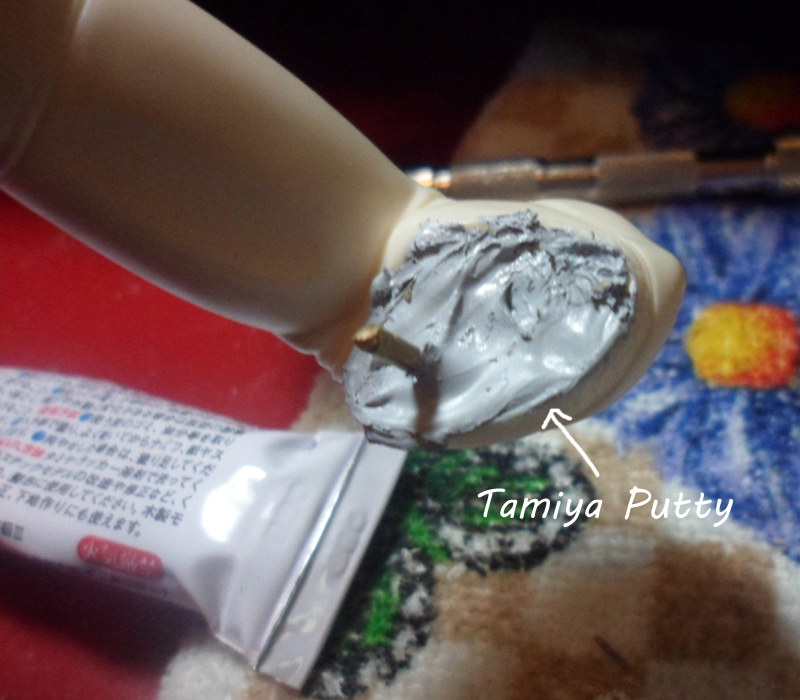 |
| Apply putty generously to the piece. Don't be afraid to add too much, chances are it will be sanded down or fall off. |
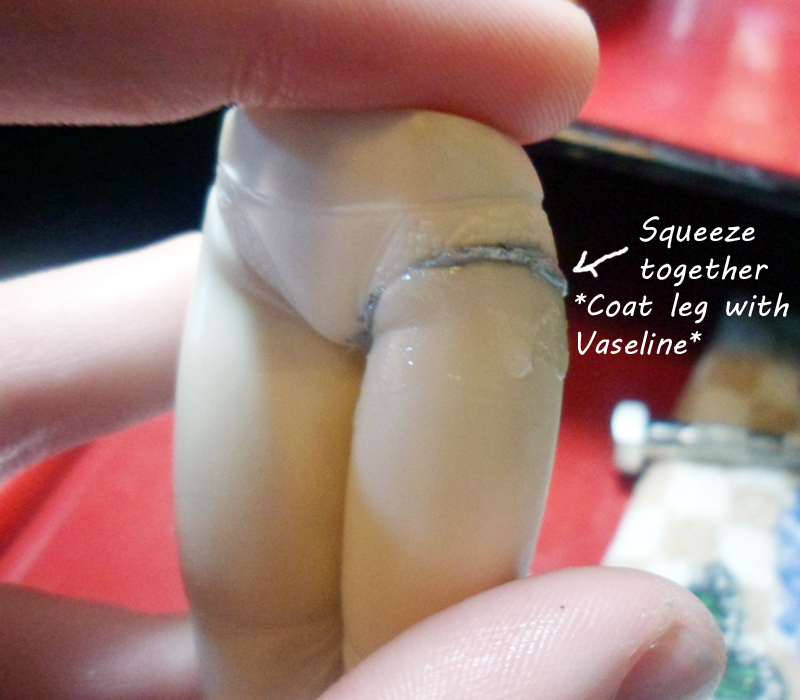 |
| Slowly take the two pieces and push them together until they fit well. |
 |
| Wait 5 minutes or until the putty becomes firmer, then remove the Vaseline-coated piece of resin. |
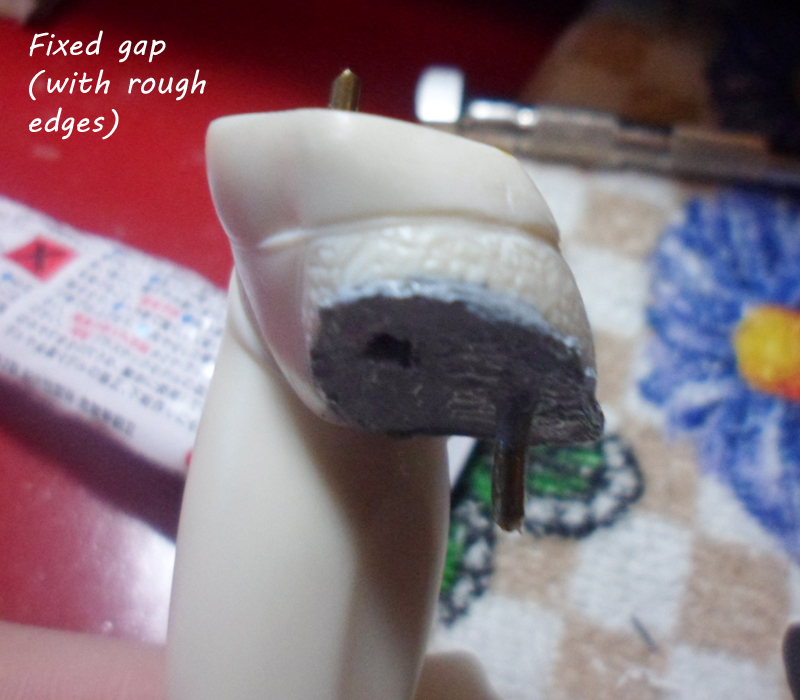
Ideally the Vaseline will prevent putty from coming off and you'll be left with one piece coated in putty. Wait until the putty cures completely, then sand it down and see how well it fits. If the piece fits you can remove the Vaseline by taking a cotton ball and wiping it down with Isopropyl rubbing alcohol. Make sure that all of the Vaseline is removed or else there will be problems with the priming process.
If the piece won't fit with putty you can bend it with heat to ensure a better fit. Don't worry about permanently melting the resin; it is very durable and has a high melting point (PVC melts around 140-160°C) so applying heat for a while won't deform your piece forever.
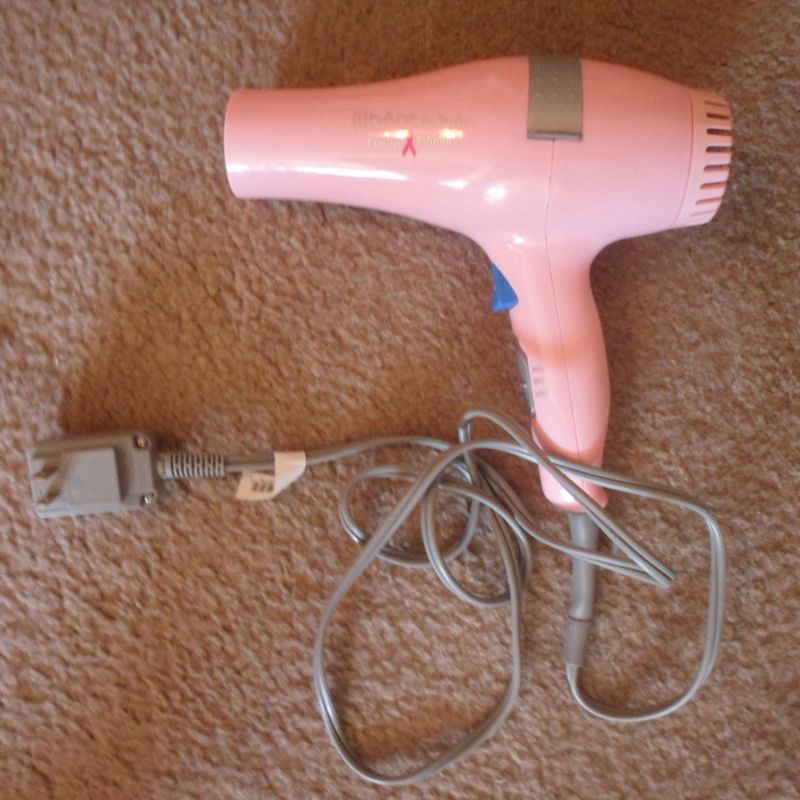 |
| My sister's lovely breast-cancer hairdryer |
I usually use a blow dryer on high and put it right near the piece in a towel so my hands don't get burned. Be careful when handling the pieces because they get very hot. I have also heard you can bend resin by sticking it in boiling water for a few minutes but this method has never worked for me.
I have
also seen a builder use a layer of plastic wrap instead of Vaseline to prevent
the sticky mess and it worked just fine but I actually tried it for this WIP
and it didn't work at all haha. There are many ways to putty or fix a gap so
it's up to you to find a method you prefer.
Okay, so your pieces fit together nicely and you have the perfect paint and you're ready to start coloring your kit because you just can't wait anymore! STOP RIGHT THERE!!! One of the most common mistakes beginners make in this hobby is applying paint to an unprimed kit. You need primer!
I don't want to endorse primer 100% of the time because there are methods that do not require
it (ex. the "clear-skin method" many professional GK builders use) but most are advanced techniques that require an airbrush and enamel or
lacquer paints. Since I will be working with acrylic water-based paint primer
is absolutely necessary. Believe me, if you do not use primer with acrylic paint chances are at some point your paint will begin to peel and then hell will break loose as all your hard work comes peeling off in chunks...yes I'm speaking from personal experience so DON'T FORGET IT (╯°□°)╯︵ ┻━┻
Most
people who know a little about GKs have heard primer is used to help paint
adhere to your kit and that is completely true! However, it is also very useful
for finding little flaws in your kit (scratches, air bubbles, excess putty,
etc.) that are not visible on white resin. Finding these flaws will also help your kit look smooth and professional.

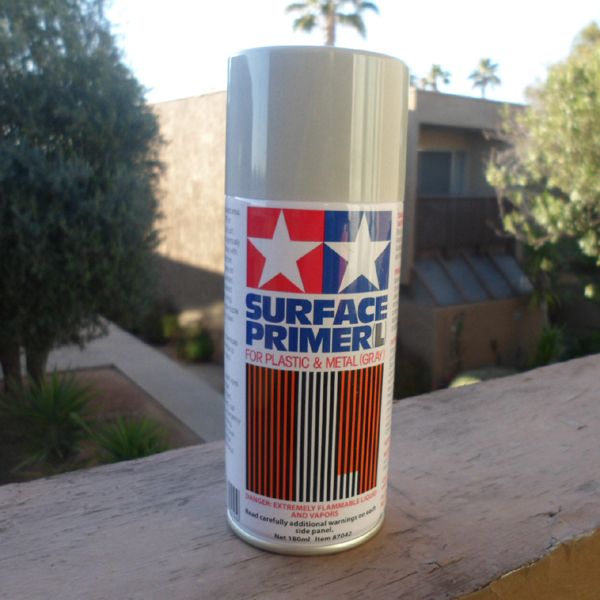
Tamiya
makes a great hobby primer that I will be using but if you're just starting out
automotive primer or primer from a craft store is also acceptable. Krylon
makes these awesome "snap and spray" plastic gun extensions for
around $5 that you can attach to your can which allows for finer control.If you have an airbrush you can
also buy primer for it or spray into a little glass jar and then put it into
your airbrush.
What you want from your primer is something that gives you a smooth surface. You should spray 6-8" away but it depends on the
size and complexity of the piece. There isn't much to priming but
there are a few things you should try to do.
- USE GLOVES AND A MASK! Primer is full of chemicals and it can be difficult to remove. Save yourself the trouble and buy a small box of disposable gloves, a box of 500 is like $12 on Amazon. :p I use ones from my chemistry lab and they work great. A simple mask will also protect you from fumes and you should spray outside whenever possible.
- DO NOT overspray your kit! Since your objective is to find flaws you need a thin coating of primer. One of the worst things I did when I first started out was douse my pieces in primer up close. The result was a sticky, gooey mess that attracted dust and covered details that I needed paint.
- DO NOT spray far away! There is a balance between spraying too much and too little. While spraying too close results in an ugly coating, spraying too far away causes small flecks to accumulate on your kit giving it a bumpy appearance. You can tell when you screw up because when you rub your fingers against the piece it has a weird texture.
- Try to match colors! If your character has a light color scheme don't cover the kit in black primer! Light paints shine brighter on white or light grey primer while dark paints go well against black or dark grey primer. If you are hand painting this information is crucial because you will need many layers of light paint to cover up a dark primer. Lots of layers increases the chance for paint to peel so you can save a lot of time by matching color schemes.
- Don't worry about coating the entire kit (the first time). Chances are you screwed up something on your kit during the sanding/priming process so there's no point wasting expensive primer on something you're going to sand down anyway. I remember a guy I admired in this hobby who barely sprayed any of his pieces until he was ready to paint. I have gone through countless cans of primer and at $6-8 a can it stacks up very quickly. Save the nice coating of primer for when you're sure you filled every air bubble and sanded down every scratch and problem on your kit.
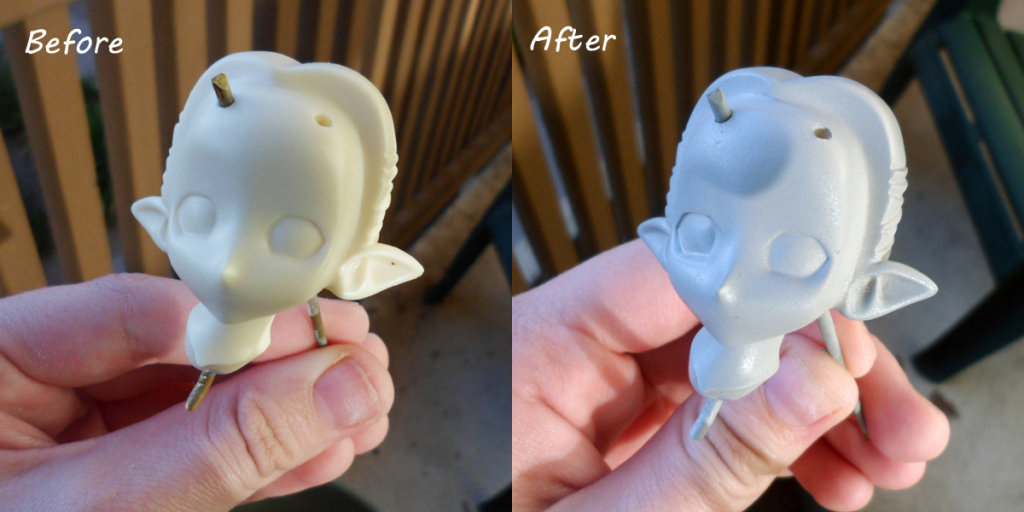
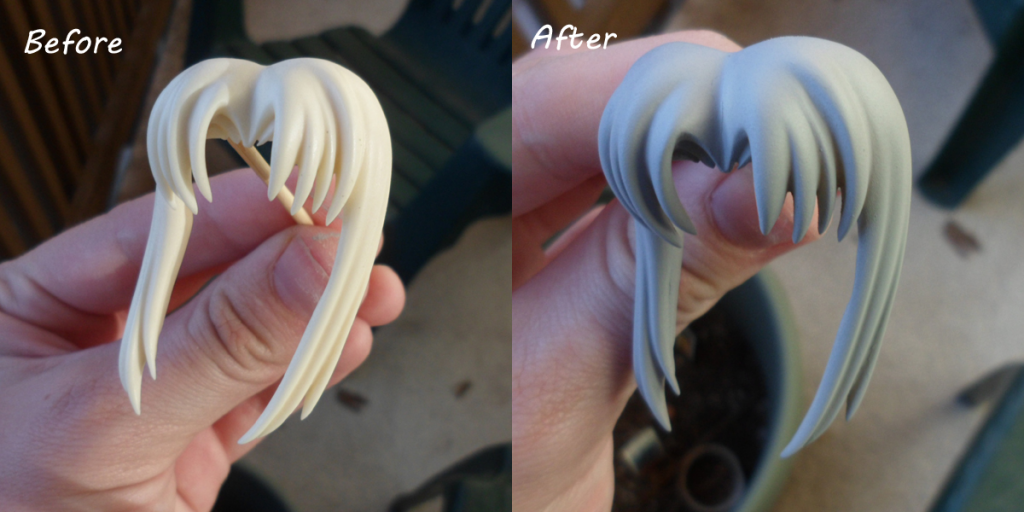
Priming
is self-explanatory but here are a few before and after pictures. Notice
how most of the parts are still very smooth after priming and most of the
little defects are just dust. Once you have finished priming the pieces you can
start to examine them.
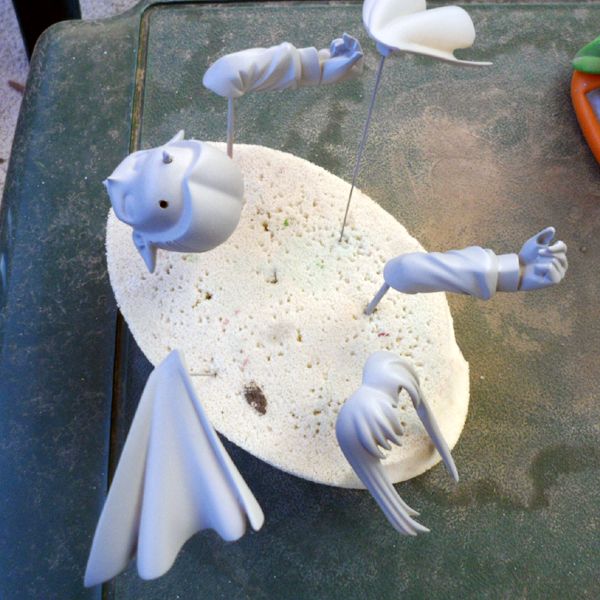 |
| Smart idea to prime my stuff after a dust storm lol |
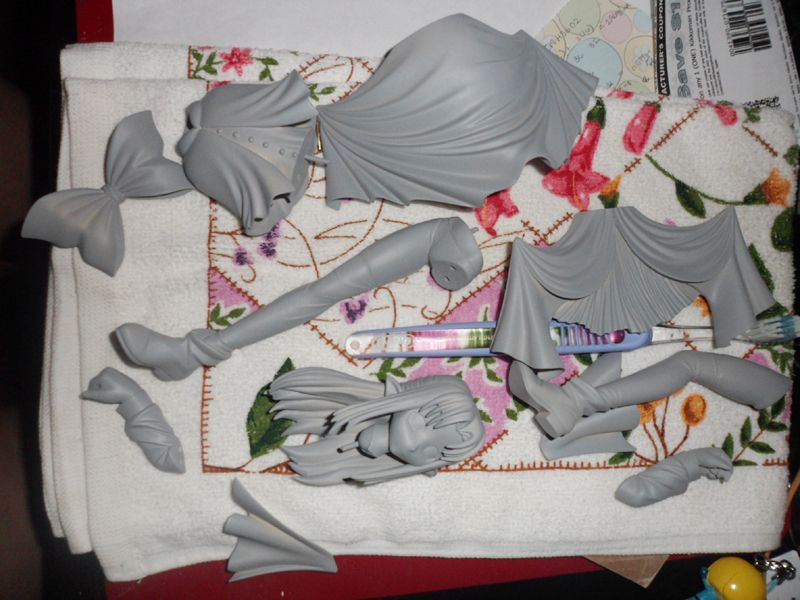 |
| All parts primed |
Here are
a few defects I found while observing my first coat of primer:
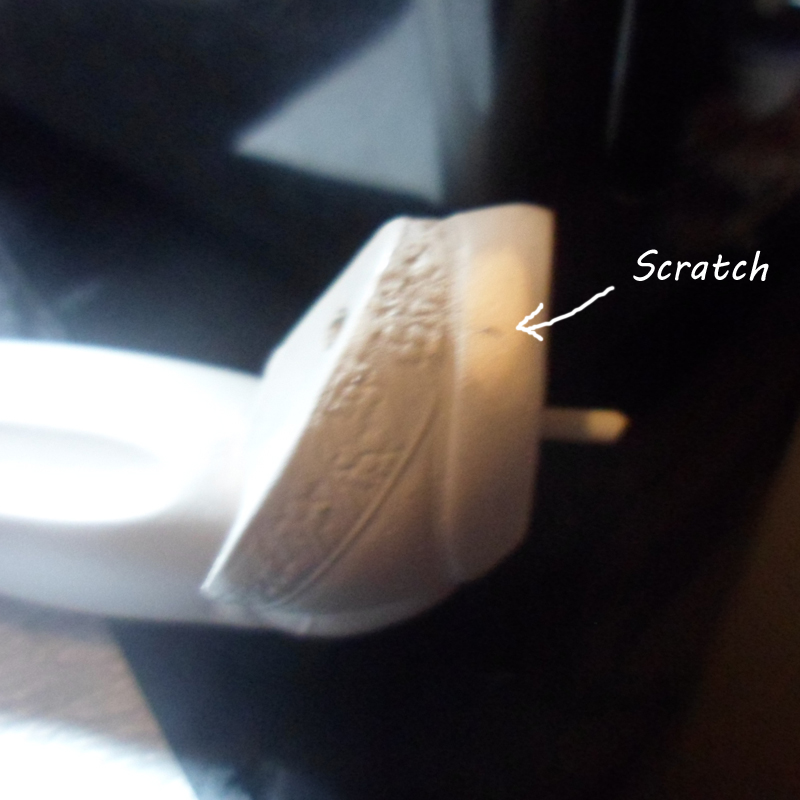
This
piece had a small scratch that needed to be filled with putty. I was lazy and
sanded it down since her skirt will cover it but ideally you
would fill the scratch with putty to prevent making curvy areas too flat.
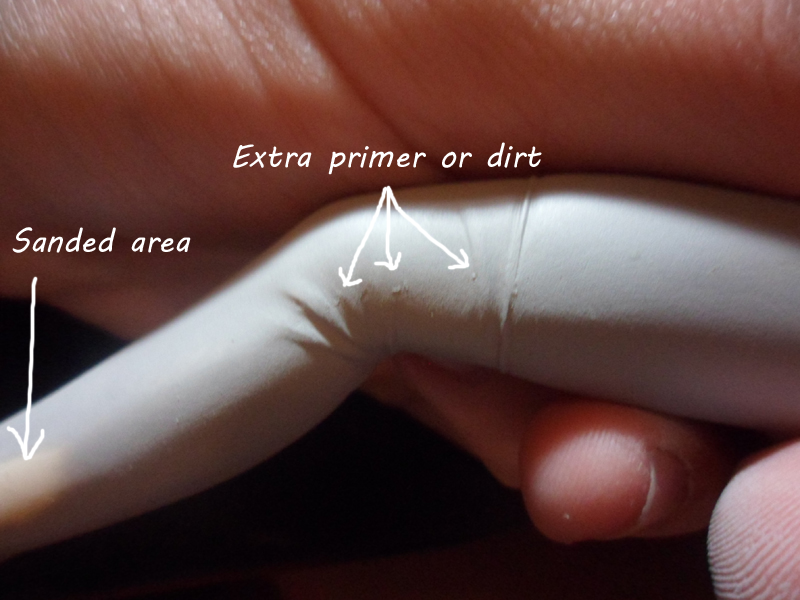
There are a few dust spots and a seam line here that were easily sanded off with a high grit sandpaper (1000 grit). Carefully remove and sand down these spots and you should be fine.
After you finish applying your last coat of primer you can pin your kit together again to see how it looks or go straight
into painting. Paint layers will also affect how your parts fit together so try to keep that in mind.
Next
time I will cover hand-painting a kit, sealing your work, and any last touch-ups including working on the base! I promise that the next post won't take long, I'm actually painting Len now :p. Thanks for taking the time to read my blog and thank you for the support!
No comments:
Post a Comment