
This blog post has also been crossposted over on my account on MFC here.

Hi and thanks for reading my WIP! These final steps are always my favorite part of the whole building process because the garage kit pops when in color. This post is also VERY PICTURE HEAVY because I wanted people to see how shading and taking time to paint the eyes works. This is PART TWO of the painting process and I hope this post is helpful and persuades some of you who are scared to paint a garage kit to start your first one.
Previous WIP posts can be found here:
Part 1: Supplies and Background
Part 2: Sanding, Washing, Pinning
Part 3: Putty and Priming
Part 4 (1): Painting, Shading, and Sealing
FINALLY, what you've all been waiting for and what I know a lot of you are scared about..painting eyes!
If there's one thing I've learned from painting eyes it's
that patience is key. Most people are scared about this step and assume they
don't have talent; YOU DO! Remember that information about reference pictures?
Those pictures are crucial if your goal is to make your character look accurate
(of course your personal style is fine too!). Eyes in anime, manga, and games
come in all sorts of different colors and sizes and each one calls for a
different technique.
 |
| There is no "correct" way to paint eyes, it's all about style! |
There are many ways to paint eyes; some people use a marker
to outline the eyes, some mask the areas before painting, others color them
entirely with sharpies. Experiment until you find a way that works best for
you. When you're painting eyes you MUST
MUST MUST use a thin paintbrush (seriously guys)! A common beginner's mistake is to use a
large brush to paint eyes and eyebrows. The end result is often unprofessional
and looks kind of "globby" if that makes sense. Brush sizes are
numbered and the larger the number, the bigger or wider the brush. Save
yourself the trouble and practice with small brushes, there is a huge
difference between a 2, 0, and 2/0! I usually work with a 00 brush.
 |
| Brushes run in many different sizes and lengths, it's up to you to find out what you like. |
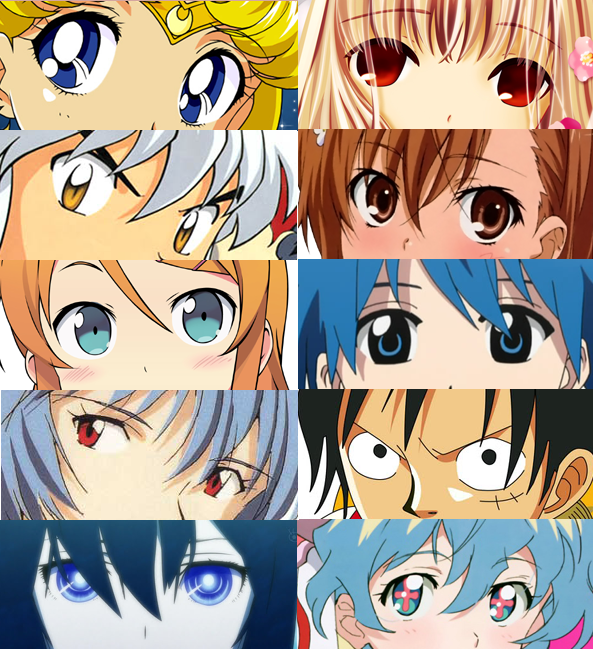
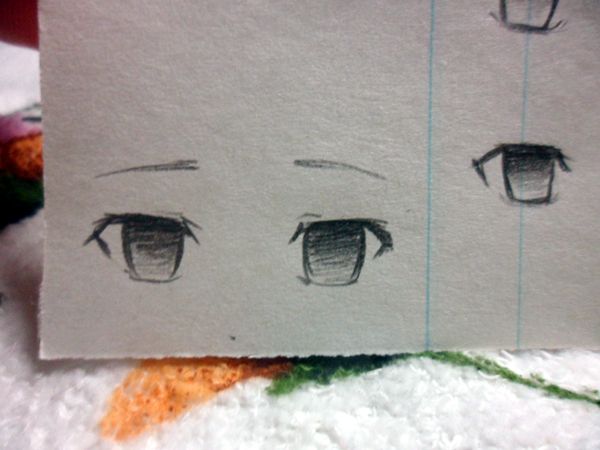
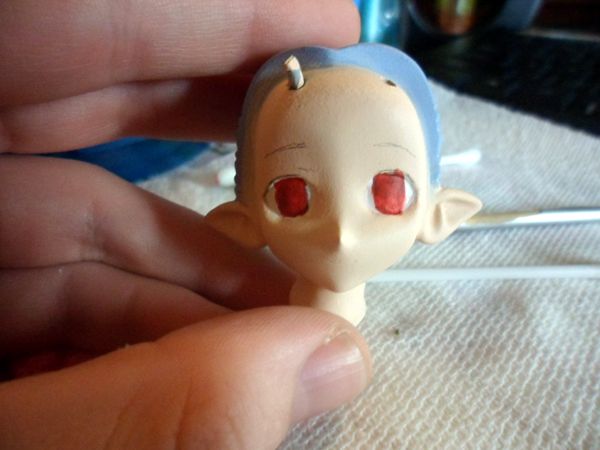
Although anime eyes are stylized they share many similarities with real eyes. I've found the best way to learn how to paint eyes is to study the real human eye; observe how it moves and how it shines in order to avoid that "deer-in-headlights" look.
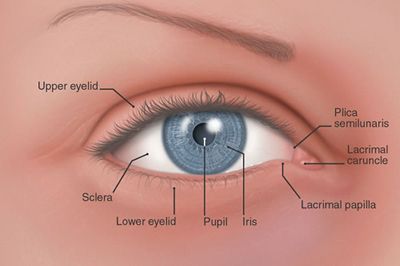 |
| Almost all anime eyes have the basics; a schlera, pupil, iris, and shine. |
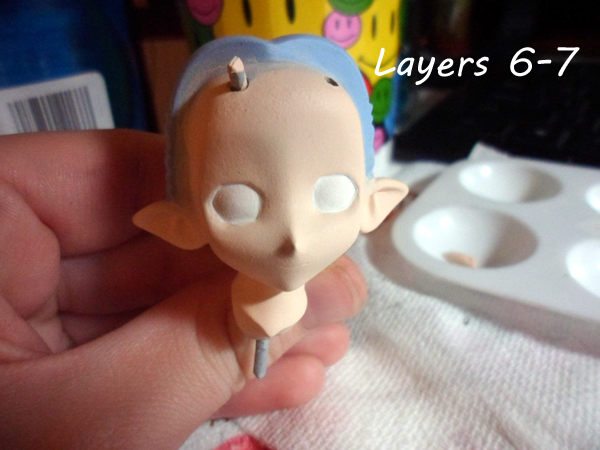
After you've made sure your base layers are sealed, start by painting thin layers of white onto the kit; this
will become the schlera. The number of layers depends on how thick you apply your paint.
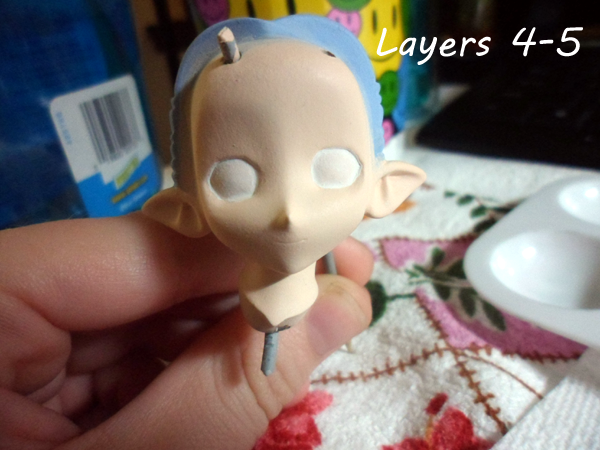
Next,
outline the area you want to paint with a pencil (I used 0.05 lead). You can
also draw some eyes on paper to become comfortable with the style.
After you
have roughly sketched the eyes, it's time to paint! The next few steps can be in any order you want; some people paint the iris first, other people add eyelashes and eyebrows, the order doesn't matter as long as you reach a desired outcome. I tend to jump around when I work on eyes and just pick out things that bother me lol.
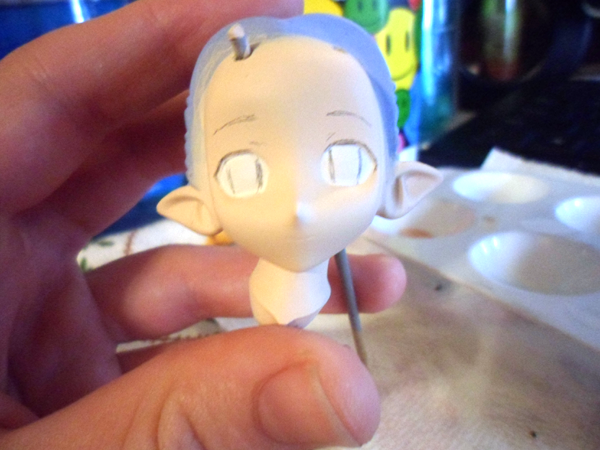
Start with the base color. Apply in thin layers until the entire area is covered; this
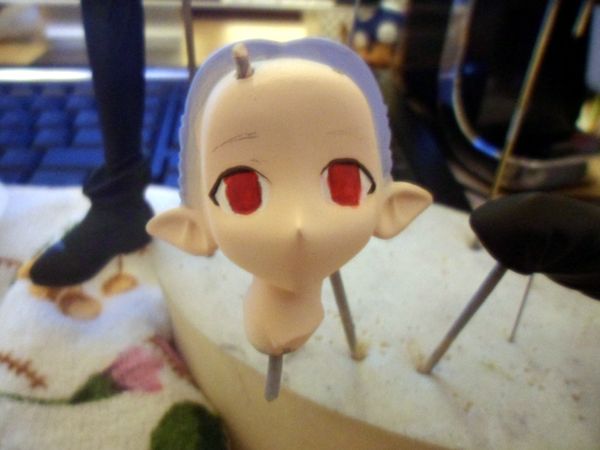
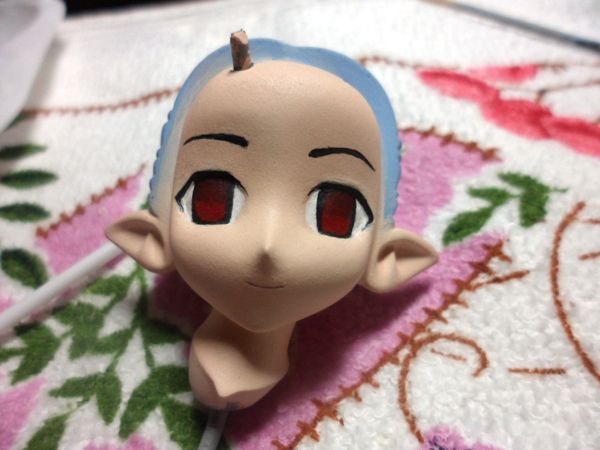
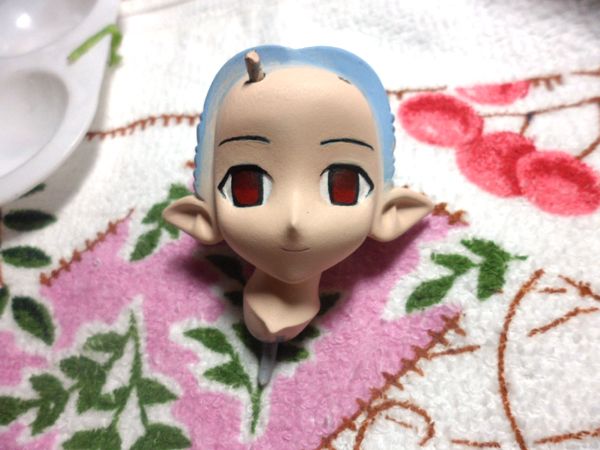
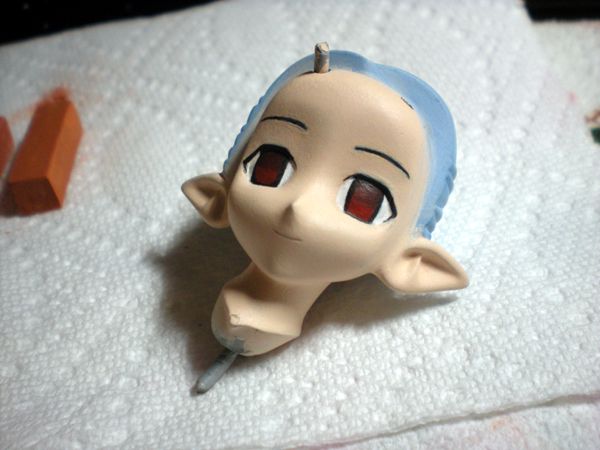
is the kit's iris. Add eyelashes and continue to work with the paint, altering it until it fits the style you like. Do NOT be afraid to change the eyes, you can always rub off paint and start over. You can see in my photos that the shape of Len's eyes changes each photo as I progress.

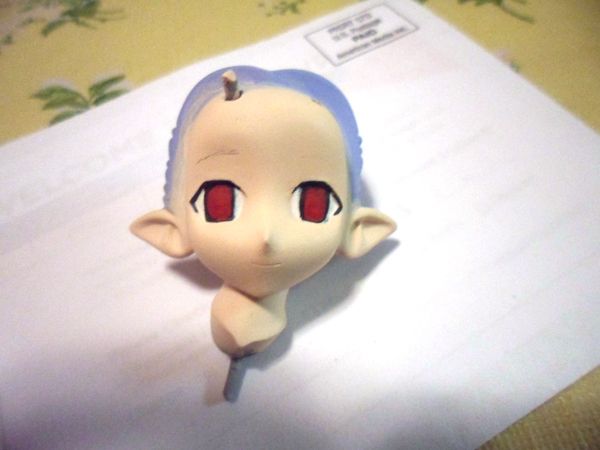
 |
| The shape I decided on |
After the color is even you can start shading your kit's eyes. To shade I make a color darker
by adding black or another color in the spectrum and thin it to a milky
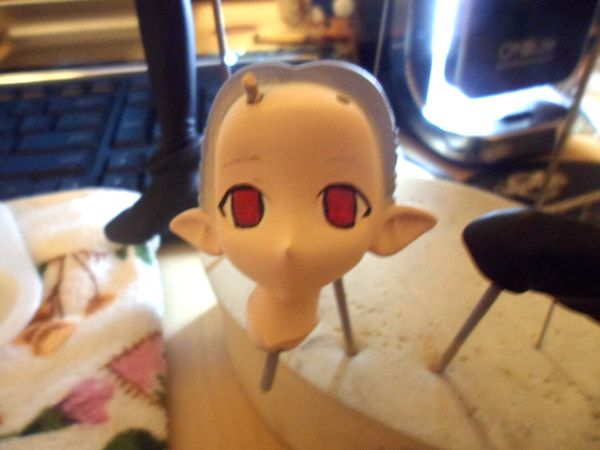
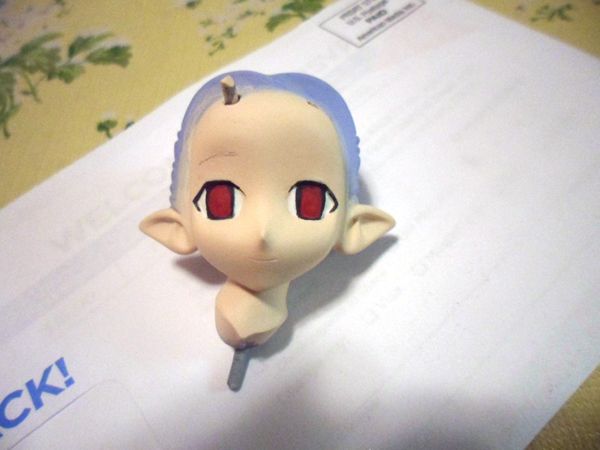
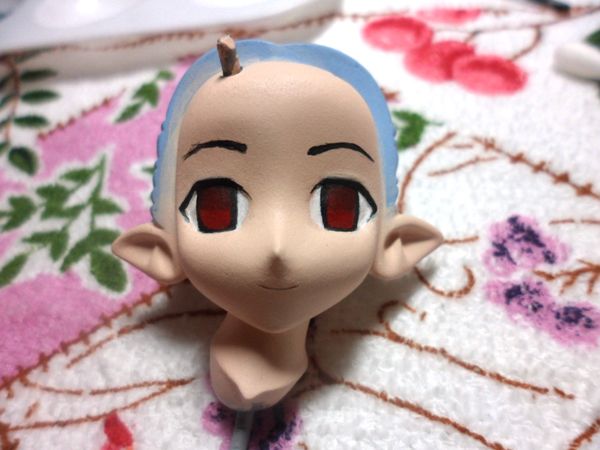
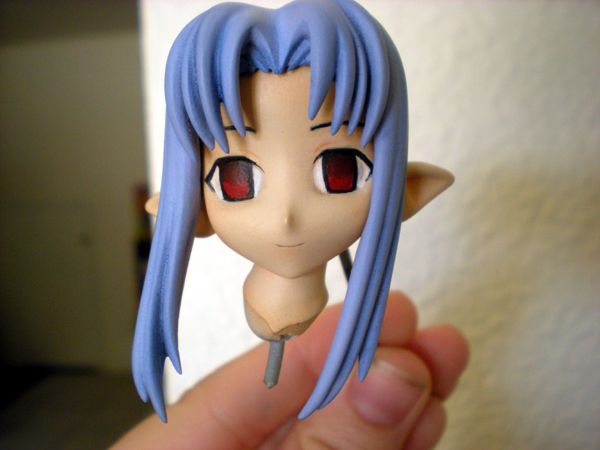
consistency. Apply carefully and allow to dry. You may need to paint over the eyes with a black outline again to complete the anime look.I used a mixture of the base red and black to achieve the darker red shading in her eyes.

The completed, shaded eyes. Notice the top left eye has some paint on it in order to change the angle of Len's eyelashes. I also shaded her smile in with pencil since black or another color would be too wide.
You can add a pupil depending on the character (Ex. Kirino, Rei, Inuyasha, etc.) and paint multiple layers to add
depth as well. Finally, estimate where you want the kit's eyes to shine and dab
a little white paint on it. Eye shine really completes that 'anime' look but
make sure both of the white parts face
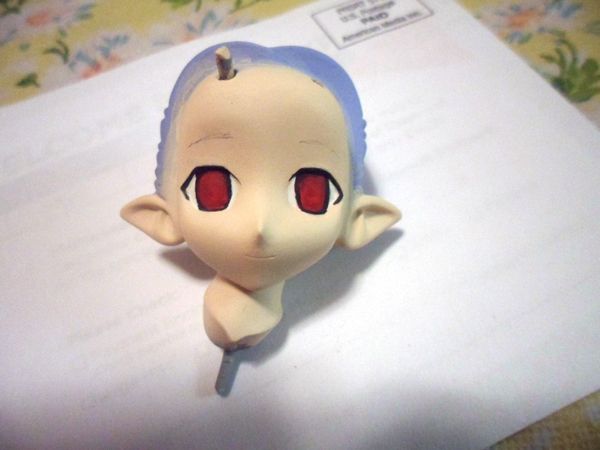
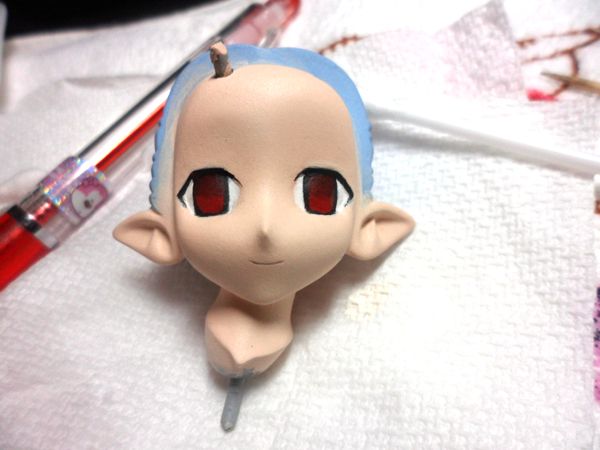
the same direction. Len doesn't have pupils so I can't really add them but this is what they would look like edited in Photoshop.
 |
| Len feels kind of scary here haha... |
I've found it really helps to take pictures or take
small breaks when painting the eyes because when you come back you can see the flaws
in your work. Try to paint both eyes equally apart and make sure they are the
same width or else it will look derpy. Make sure to clear your paint palette when it gets dirty too...
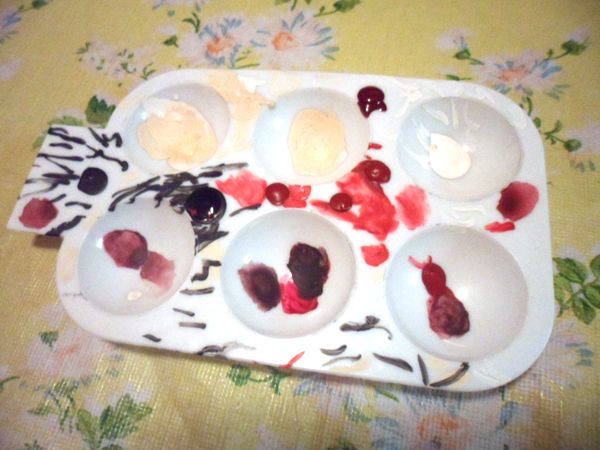 |
| The battle zone |
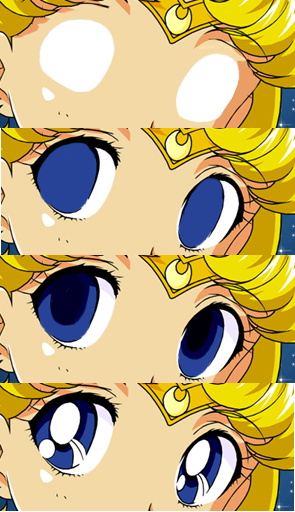
These pictures of Sailor Moon's eyes also show the general
steps to how I paint (sorry for the bad Photoshop lol). You paint the area
white, then add in the outline and base tone followed by shading and then
shine.
If the sound of painting eyes makes your heart stop plenty of kits include decals! I prefer painting eyes since most decals are
generic but you can also purchase some "anime" decals here at Archer Transfers.
Another common issue I see among both new and old builders is a lack of eyebrows. Any kit with missing eyebrows makes me cringe a little since it looks so unnatural. Eyebrows too similar to the kit's skintone also bother me but that may just be personal preference lol...anyway, eyebrows tend to be hit or miss. Sometimes you get guidelines on your kit, other times your surface may be totally flat and it's up to you to fill them in. I usually (accidentally) start out thick and then work my way to thinner eyebrows by wiping off areas with Windex and/or layering more skintone on them. MAKE SURE your eyes are sealed by this point! You don't want to screw up your eyebrows, wipe some off and then have the cleaner dribble down and mess up the work on your eyes.
 |
| Notice the skintone layer on the right eye...I won't see it up close and most is covered by bangs so I don't really care lol But they're just the thickness I want :) |
The best thing you can do for eyes is to practice. When I first started out I had to paint my kits two or three times before I was happy. Now I have a lot more control over what I do and it's
a lot easier. As long as you work slowly and tackle problems as soon as they occur you should be fine. Again, patience is key! I probably spent around 1.5 hours working on Len's eyes until I was happy.
-------------------------------------------------------------------------------------------------------------------------------------------------------------
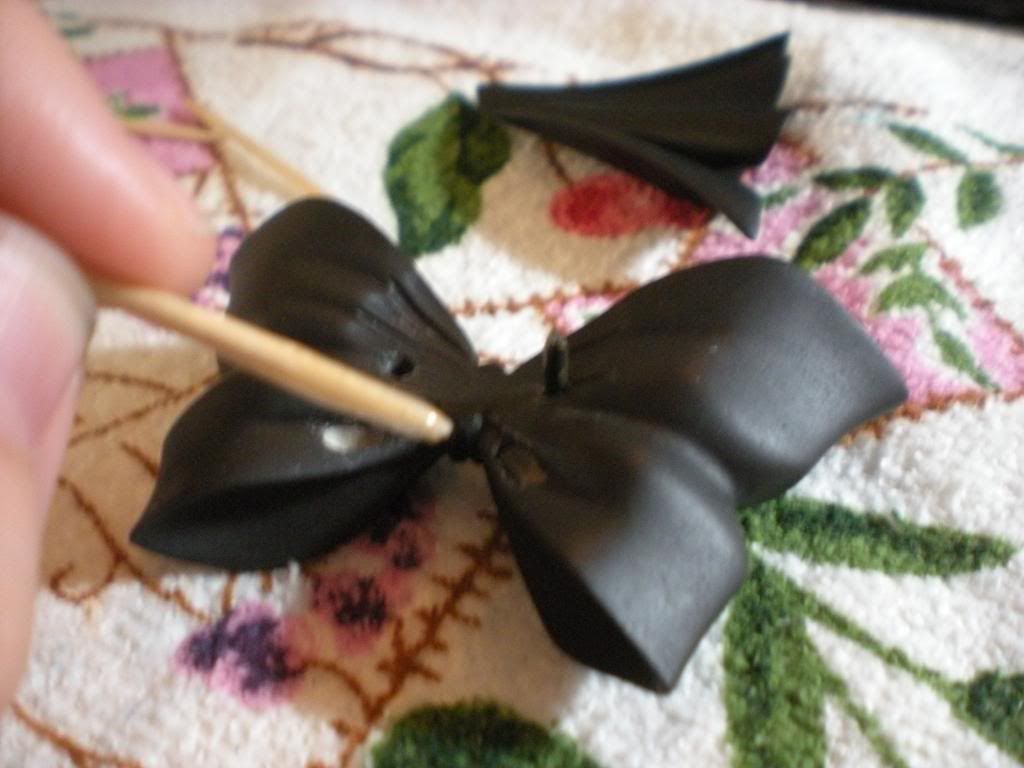
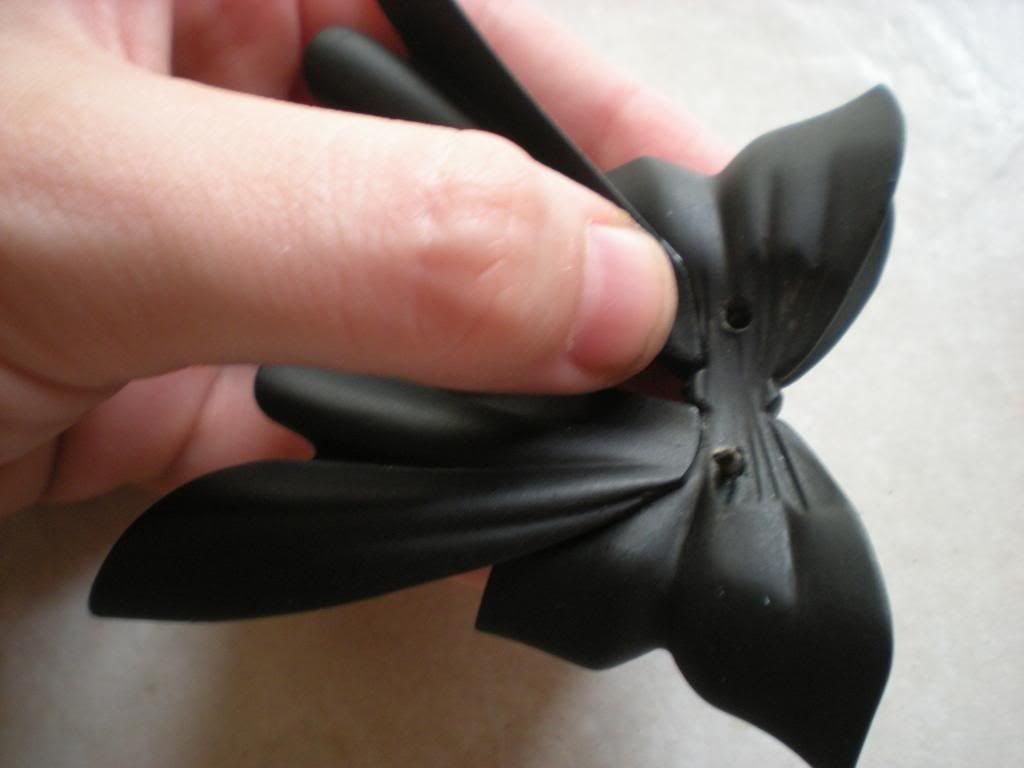
There are always little things you can do to make your kit stand out and I want to sidetrack before I dig into the final steps. I was looking through my pieces and wondering where the little ribbon for Len's shirt went...and it's GONE!!! The bow is GONE! Even though I'm really pissed I figure
I can use my massive screw-up to teach you guys a lesson in creativity. It's
sometimes possible to resculpt small pieces but other times you're in real
trouble and have to improvise. Thank goodness my lost piece is a bow :p
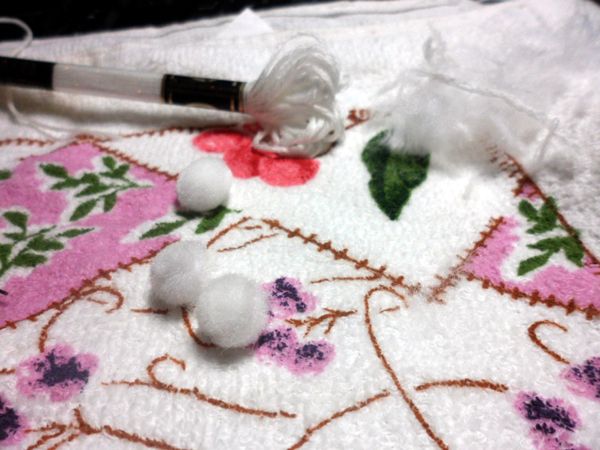
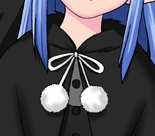 |
| Notice that the pom-poms are fuzzy and the top of her collar thing looks textured. The pom-pom balls are really ugly for my kit so I'm going to completely change them to set my build apart. |
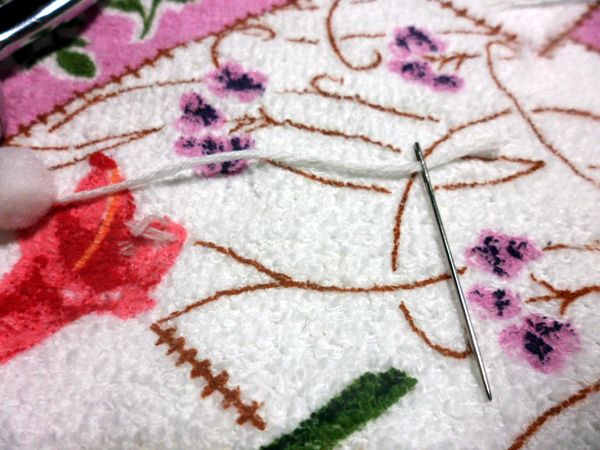
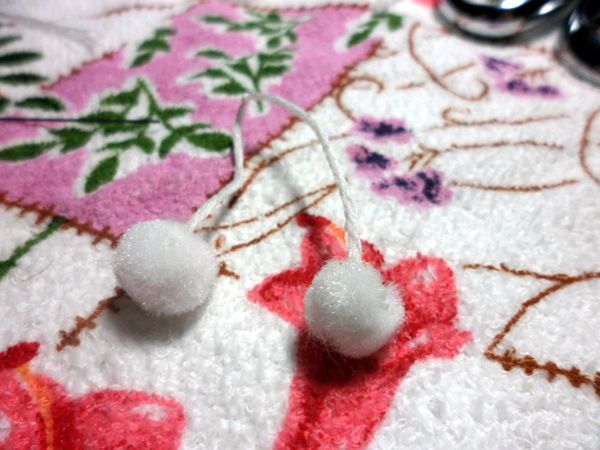
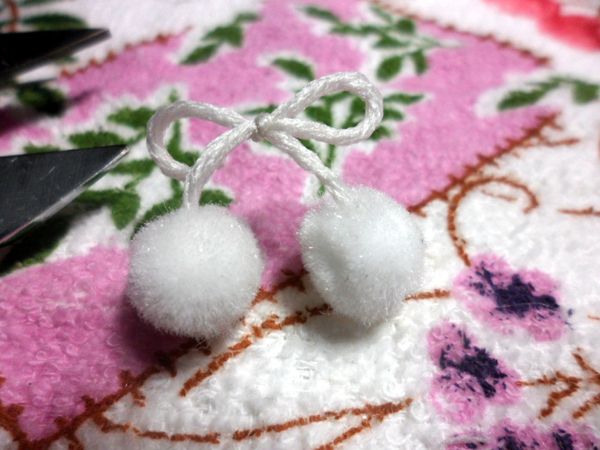
I didn't really think about these details until I lost the
bow and now I see I can just make some with thin thread, pom poms, and trim.
Another reason why you should keep reference pictures handy :p
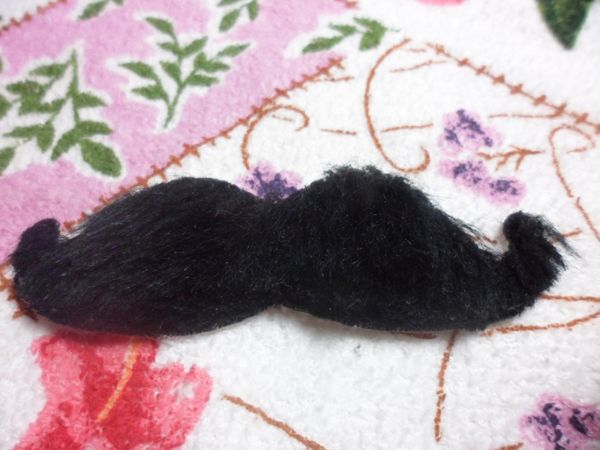 |
| I took this mustache because it's black and fuzzy :p |
 |
| With the lovely fuzz |
-------------------------------------------------------------------------------------------------------------------------------------------------------------
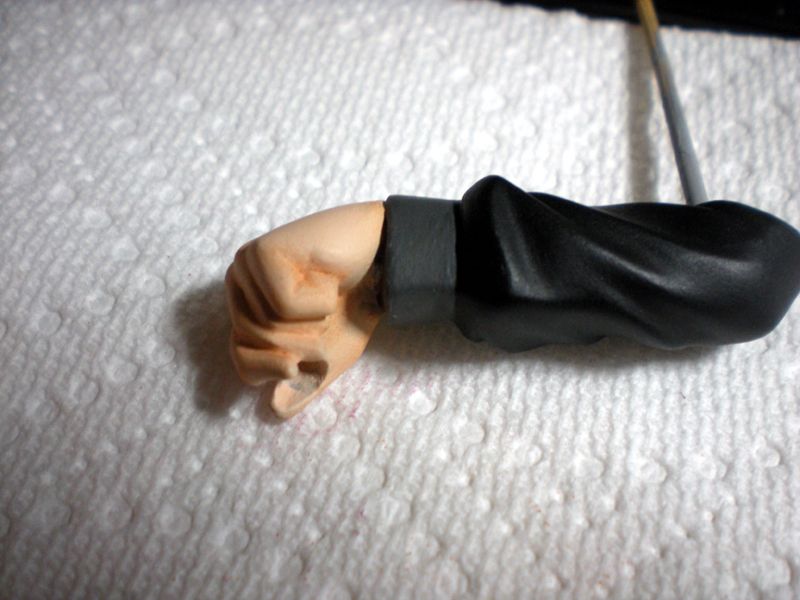
Now you're probably thinking "Well I finished the eyes and that's the hardest part and I added some stuff so I'm a special snowflake AND I'M DONE!!!" Sorry, not yet! You may notice on a lot of PVC figures that certain parts tend to stand out like faces, areas where undies meet leg, etc. This is almost always due to shading on the figure that gives it depth.
Shading is probably my favorite part of the whole building
process. You may have a good base layer of paint but without shading your kit
essentially looks lifeless (and there's only so much natural shadows can do).
Shading your garage kit makes it appear more professional and brings it to life :) I'm not going to go over what to shade in this WIP, if you want to
know how to shade figures you can look at how artists use anime cell shading or
study your body in real life to see how shadows are cast.
 |
| Oooh pretty colors |
I use chalk pastels to shade my kit. If you have an airbrush
this step isn't necessary since you can layer colors on top of one another but
it's very difficult to layer hand-brushed paint without it becoming streaky or
sloppy. Pastels give good coverage and are forgiving since you can wipe them
off with water or Windex. I've noticed
that it's usually better to shade with the darker pastels since they show up a
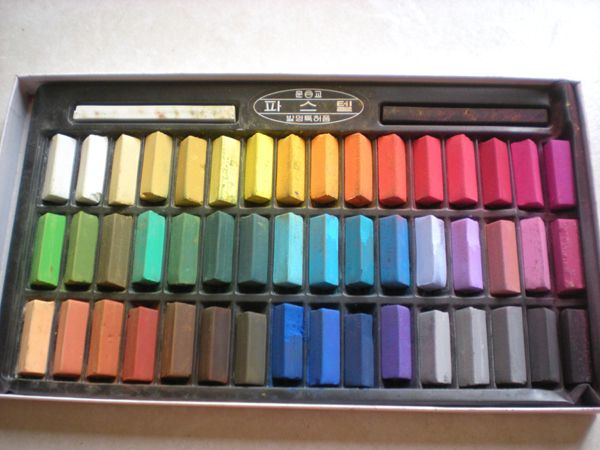
lot differently on a painted surface. The pastels I'm using in this WIP are
Mungyo pastels; they are very vibrant and inexpensive. I bought these on a whim but they work beautifully and I love the size (they're half the size of normal pastels). You can purchase a set of 48 at T-Mart if you want a bargain for ~$14USD plus free shipping! I highly recommend them compared to other brands at craft stores.
HOW TO SHADE WITH PASTELS:
Make sure your paint layers are sealed!
Then shading with pastels is easy. First line up the colors you think will work on your kit.
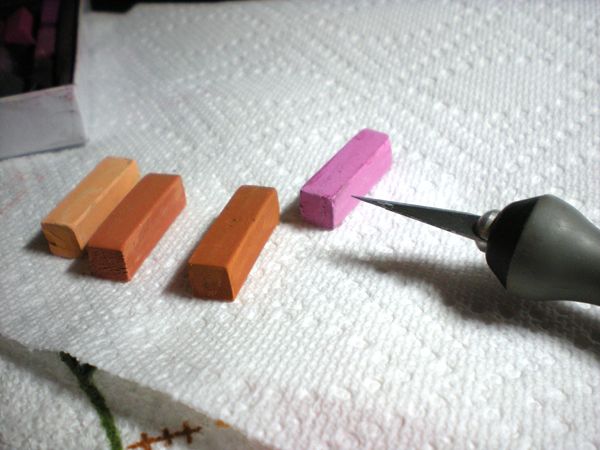
Using an X-acto knife, carefully shave off some pastel. You can also mix pastels this way.
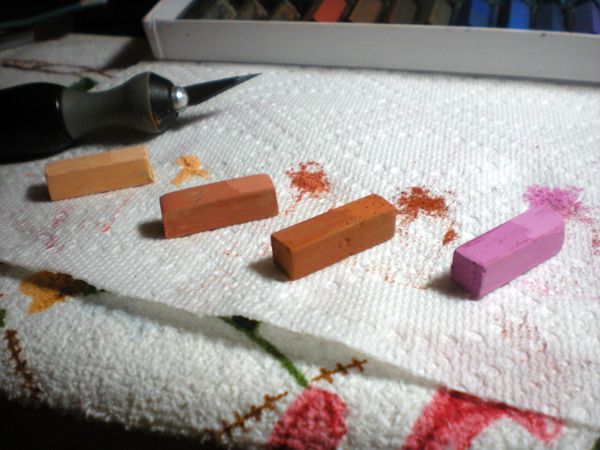
Using a Q-tip or small brush, pick up some pastel and lightly brush it against the kit. Blow away dust.
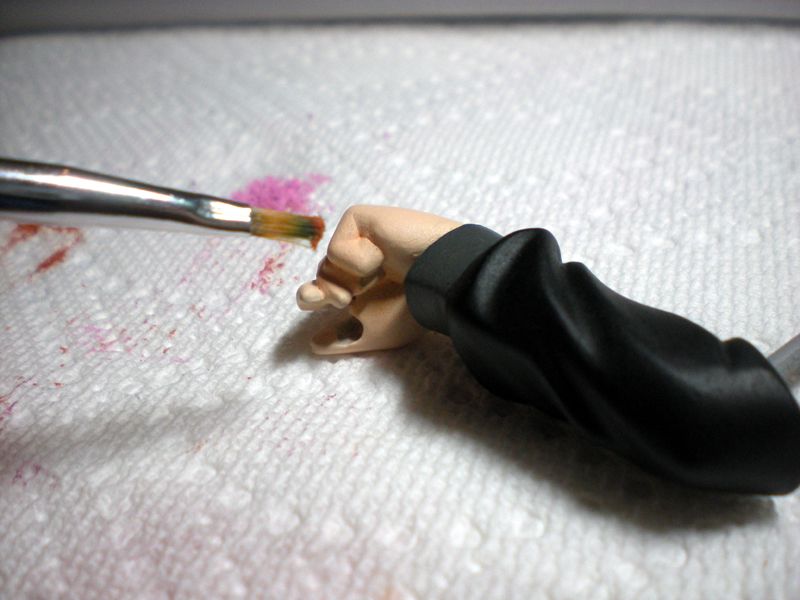
That's really all there is to it! Pastel is very forgiving and as long as you've sealed the paint underneath you can wipe off the pastels and try again if you aren't satisfied with the result. Keep in mind some darker pastels may stain your kit so you may want to try on a test area or somewhere that isn't as noticeable.
Hair shading:
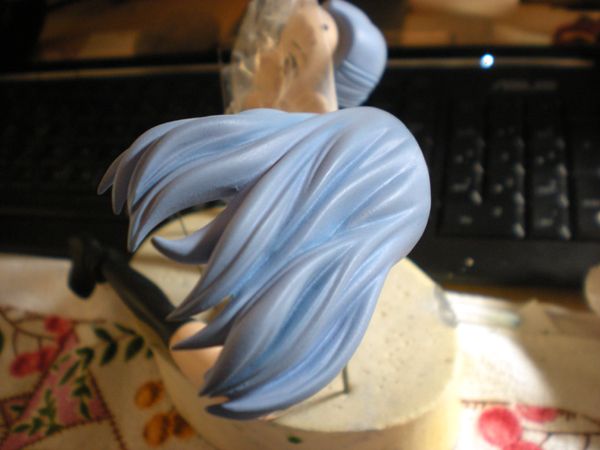
Skin shading:
 |
| Before |
 |
| After |
 |
| Before |
 |
| After |
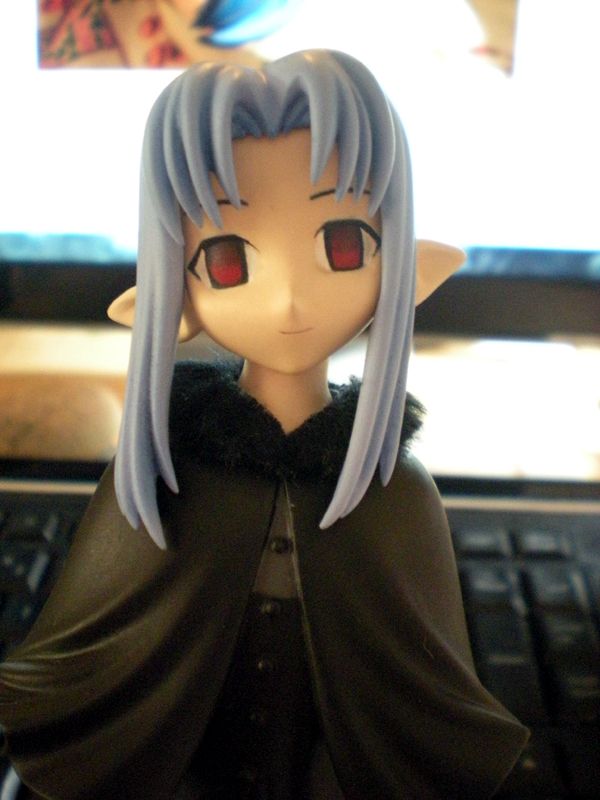
Hair and skin parts shaded. I also added an upper eyelid with a 0.005 brown Micron pen like this:

Shading is the last step before finally putting together your kit and displaying it. Be proud you've come this far but don't forget to seal your hard work!
-------------------------------------------------------------------------------------------------------------------------------------------------------------
The last step in building is gluing your kit together. Gluing ensures that your work will not break into pieces if it ever falls down or somehow gets hit! I've heard horror stories where someone built their kit without gluing it together, a cat knocked it down........well you get the idea haha. Don't make that mistake!
I use what is called a two-part epoxy glue. You can buy this at most hobby stores. I recommend the Bob Smith Industry brand, it's lasted me close to four years and still works perfectly. I've heard other brands like Devcon don't hold as well so this is just my personal favorite. It also comes with different drying times but I recommend the 5-minute curing time since I don't want to hold my kit any longer than that.
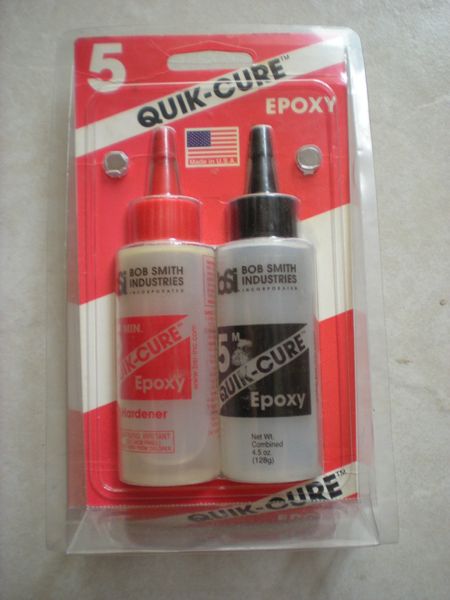 |
| Epoxy that dries in 5 minutes. There are also 15 and 30 min. kinds. |
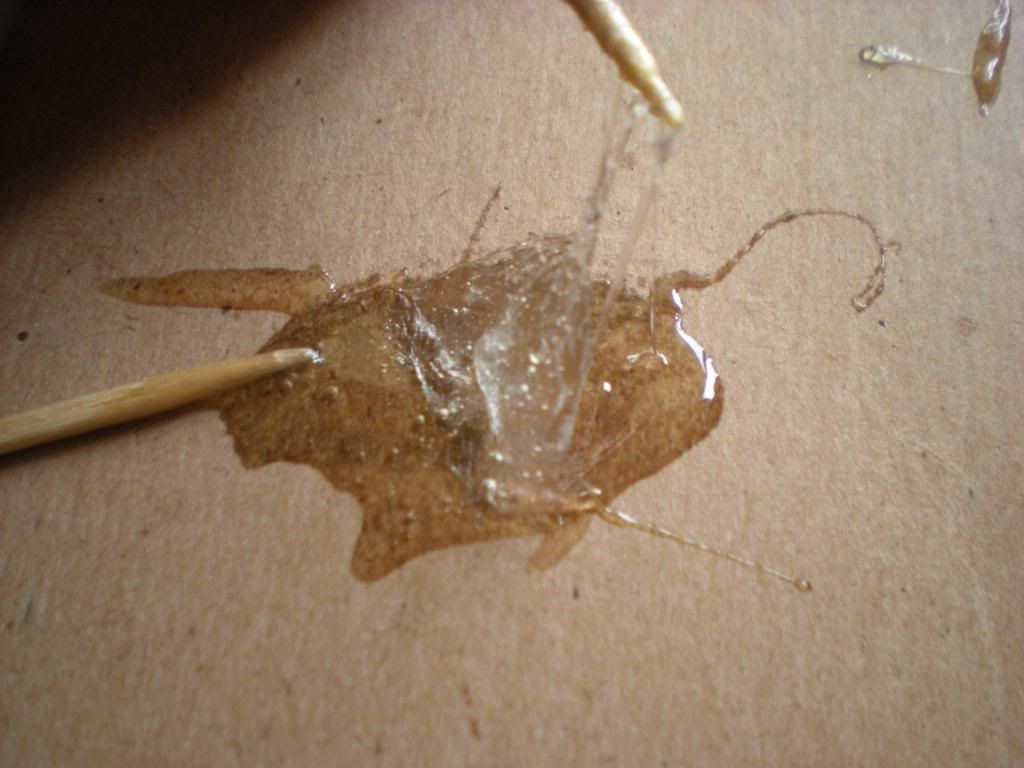
HOW TO GLUE YOUR KIT TOGETHER:
Using epoxy also isn't difficult once you've gotten the hang of it.
Squeeze an equal amount of epoxy and hardener onto a disposable surface.
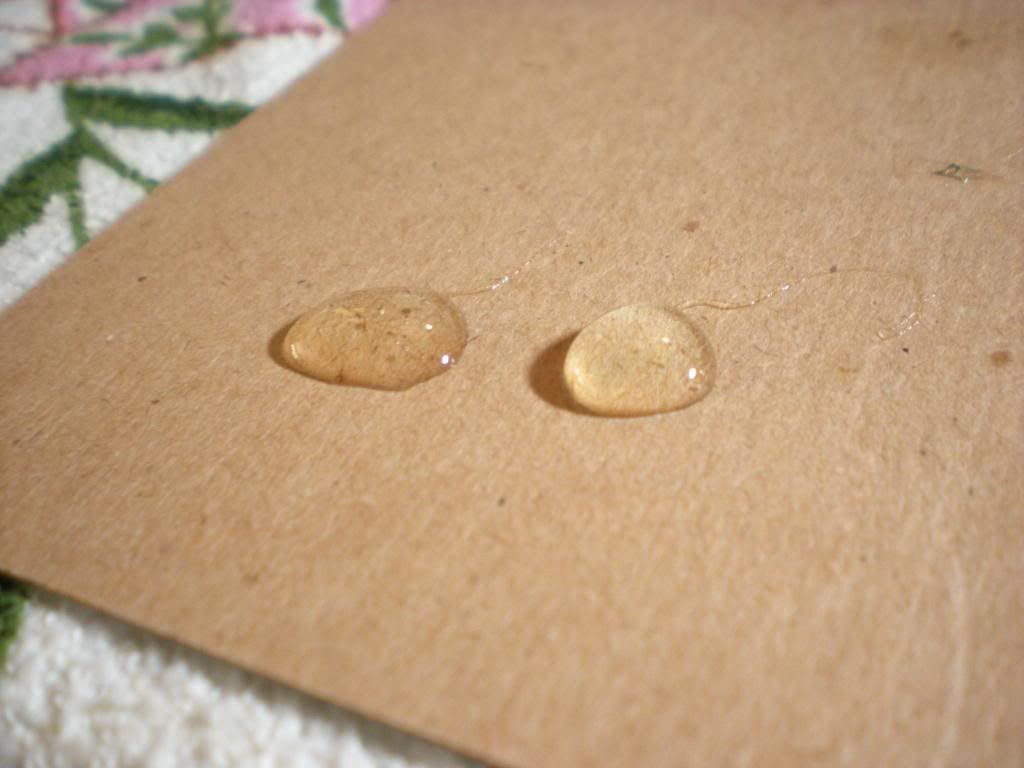
Equally mix the two parts with a disposable item like a toothpick.
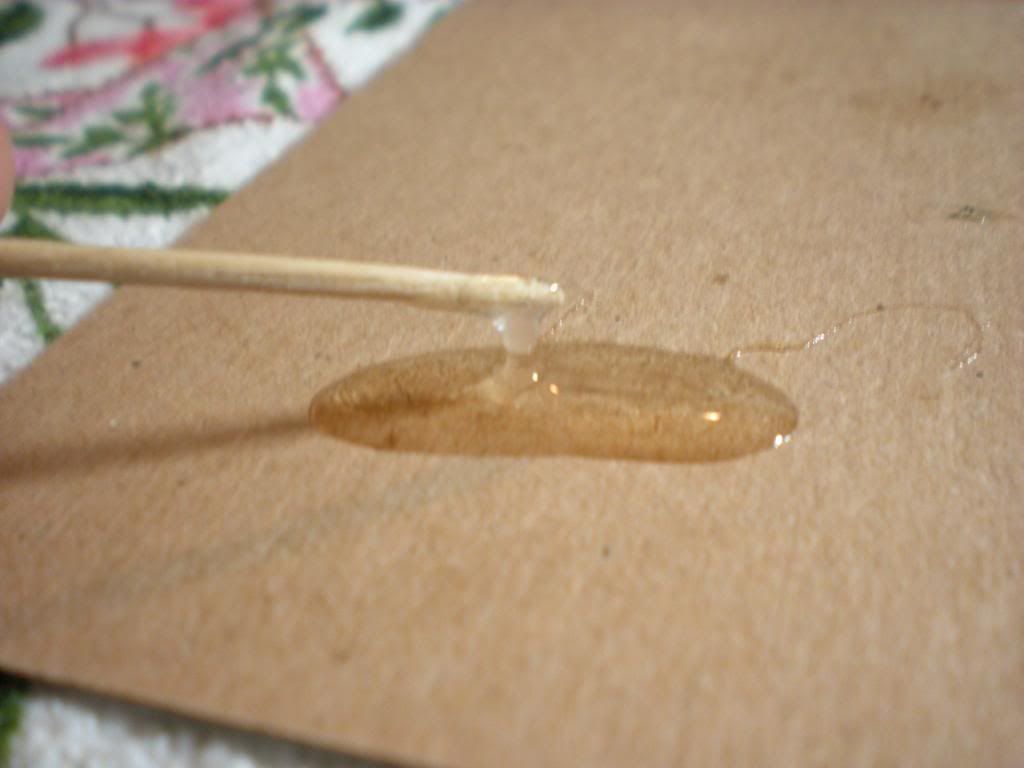
Apply to area you want glued (don't overapply or glue will spill out)
Steadily hold the pieces together until the time on your epoxy passes.
Epoxy dries quickly (esp. the 5-min. one) so don't be afraid to mix some more, there is plenty!
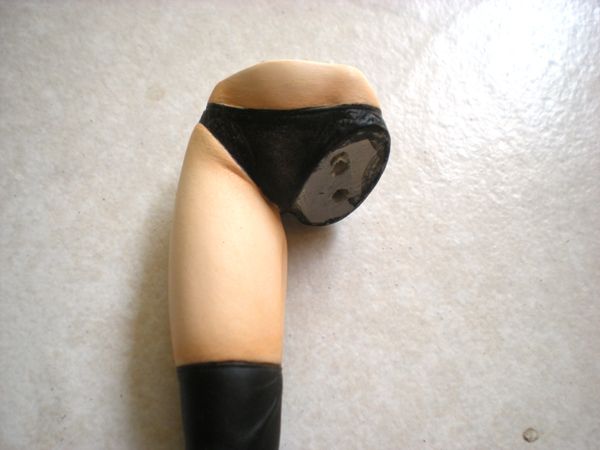
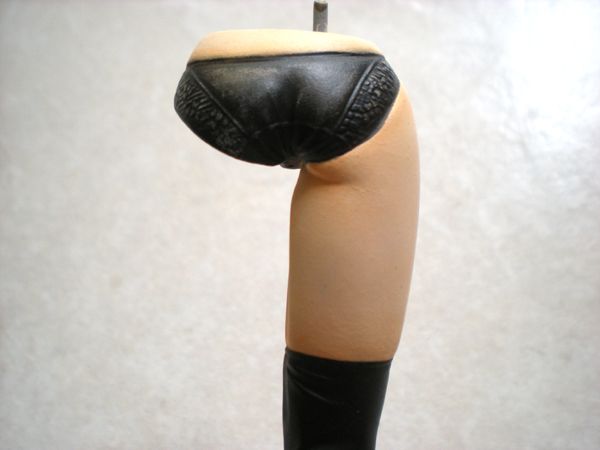
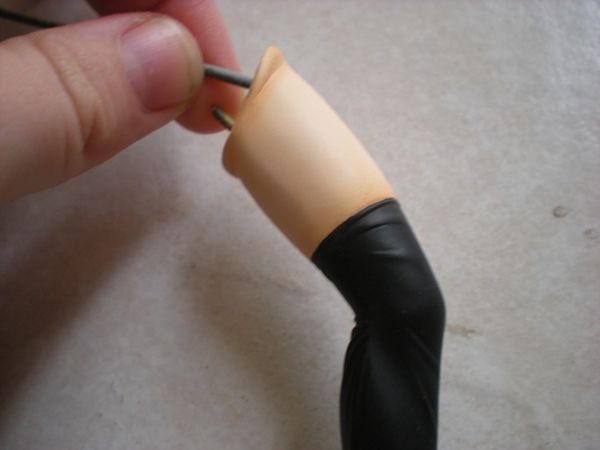
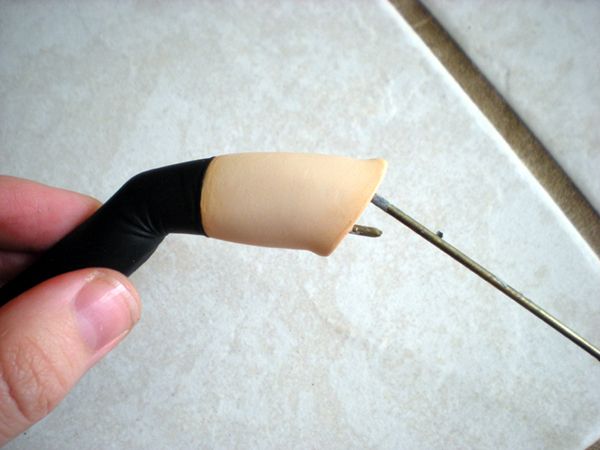
After you've finished gluing your pieces together it's really just a matter of pinning and gluing your kit to an appropriate base. Make sure that the pin extends far enough into your kit that it will not lose balance.
Glue your kit to the base for added protection and you're done!
-------------------------------------------------------------------------------------------------------------------------------------------------------------
I know
I'm not the best GK builder and there are definitely much
more talented people but I hope that you learned a little bit from my
WIPs...thank you for reading ^^ If you'd like to see how I built the base please check out my other posts. I'll also be making a post with Len completely finished so be on the lookout!

No comments:
Post a Comment