
This blog post has also been crossposted over on my account on MFC here.

Hi and thanks for reading one of the last parts of my WIP! These final steps are always my favorite part of the whole building process because the garage kit pops when in color. This post is PICTURE HEAVY because I wanted people to see how layers make a difference and how much time it takes me to paint my kit. I have also split this section into TWO PARTS because one would be way too picture-intensive. I hope this post is helpful and persuades some of you who are scared to paint a garage kit to start your first one.
Previous WIP posts can be found here:
Part 1: Supplies and Background
Part 2: Sanding, Washing, Pinning
One of the first things you should do before painting is gather
reference pictures. Most people want their garage kits to match the color scheme of their character as closely as possible. I also like to search for other people's
buildups of the same kit. If you look at other people's pictures you can
pick out what you like about it, what colors you want to
change, if you want to add props/modifications, etc. I like to try to paint as
close as possible to the original artwork so I don't save many pictures of
fan art...colors vary a lot between artist renditions. So take some
screenshots, find color sprites, look at other figures and artbook scans but
try to get some sort of reference!
Another very important thing to consider is lighting!
Proper lighting is important because it determines the accuracy of your
colors. Incandescent and even CFL bulbs give off a yellow glow that distorts
colors and may not show hidden problems with your kit. I own an Ott Lite that
works beautifully and I really notice the difference. If you prefer and the
weather is nice working outside is also a great way to make sure your colors
are accurate, just make sure it's not windy because dust will cling to your
kit.
-------------------------------------------------------------------------------------------------------------------------------------------------------------
 |
| After some searching this art was pretty close to my GK is based on |
-------------------------------------------------------------------------------------------------------------------------------------------------------------
HOW TO MIX YOUR PAINTS:
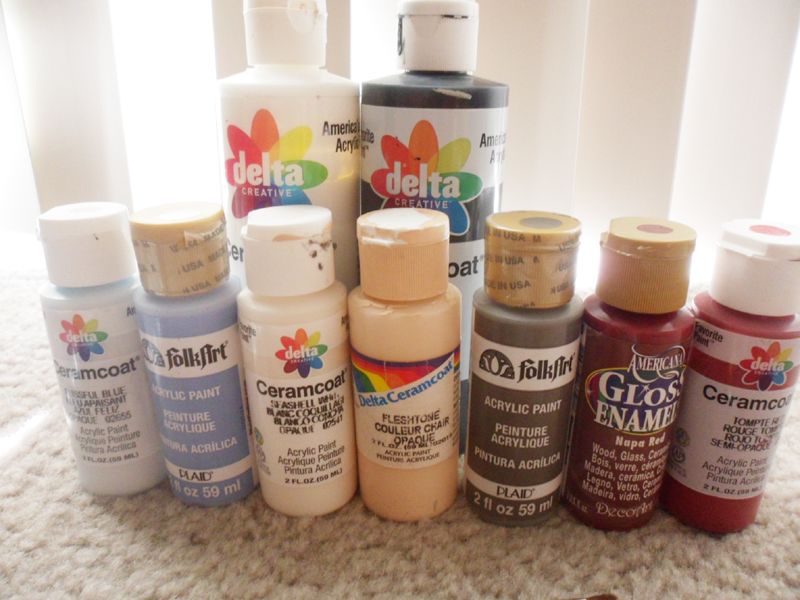 |
| All of the paints I used on my kit, minus the blue on the far left |
I work primarily with the acrylic craft paint brands Delta Ceramcoat, Folkart, and Americana. You can find these at
any craft store and all of them are water-based and
safe to hand paint with. Acrylics come in dozens of
colors so you don't have to spend all your time mixing. Not all brands are created equally though... This blog details the pros and cons of craft paints on fantasy miniatures but I agree with the top brands. I usually buy colors closest to what I need and then change the tint with another color close
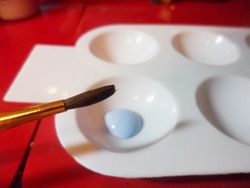
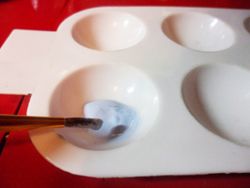
in the spectrum. When hand-painting you MUST
thin your paint down with water or Windex. Acrylics straight out of the bottle
are almost always too thick and painting like that will leave brushstrokes on
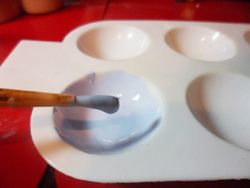
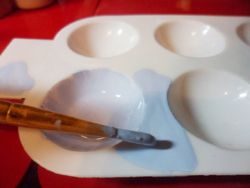
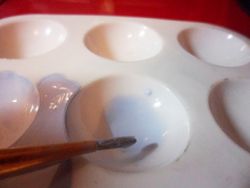
your kit. The trick to hand-painting is to water your paints down to a milky consistency, like this:
HOW TO PAINT:
Okay just kidding, there are still a few more things I have to cover before I dive into the photos!


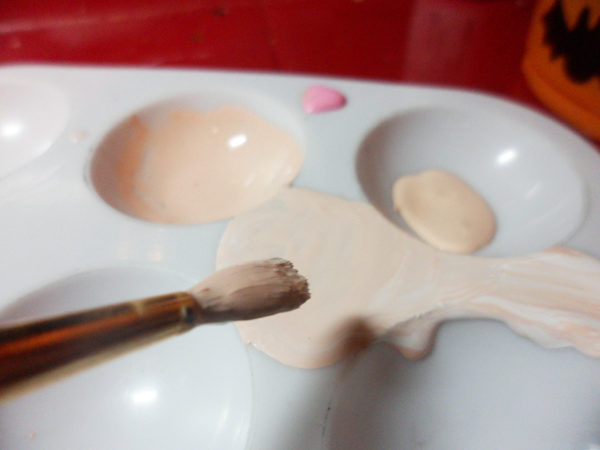
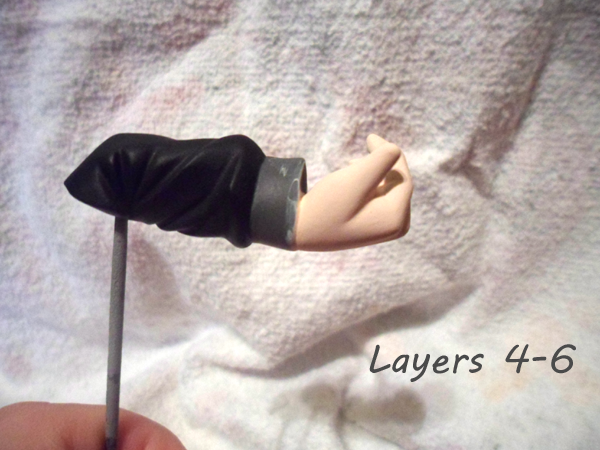


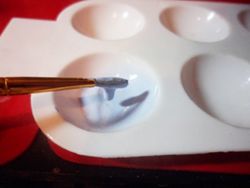
As you can see from these photos, your paint should look very thin and watered down. Going across the 3rd photo's paint is still too thick but by the 5th and 6th the paint is watered down enough. Test your figure to see what works for you as some pigments may become too diluted.
One of the biggest beginner mistakes I see (I was
guilty of it too lol) is smearing paint on your kit to save time and effort. BIG
MISTAKE AND STOP IT! Save yourself the trouble and take 15 seconds to thin your paint even if the layers are thin, it's worth the trouble!
Now after a year of procrastinating it's finally time what you have all been waiting for: PAINTING!HOW TO PAINT:
Okay just kidding, there are still a few more things I have to cover before I dive into the photos!
Handpainting = consistency!!! Since your paint is thinned chances are it will puddle up in creases or folds. Your exciting job is to make sure that this does NOT
happen by noticing problem areas as they are drying and quickly brushing over
them to ensure equal coverage. Puddles lead to big bumps when layer after layer of paint is added. Nothing's more exciting than watching paint dry, right? You should also paint in the direction the kit seems to be moving. Your hair doesn't fall horizontally so don't paint that way on your kit!
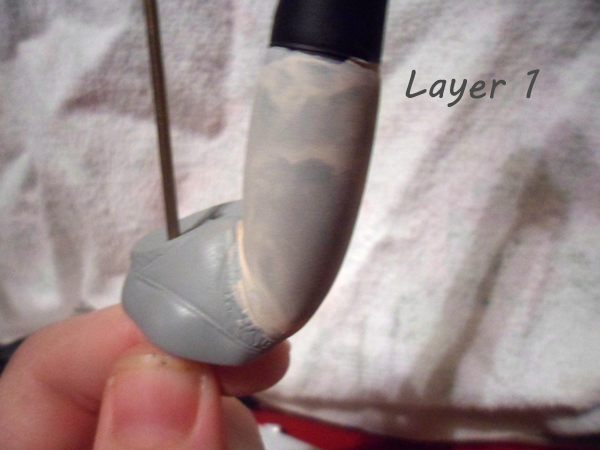
Do not be alarmed if your kit still looks covered in primer after the first few layers of paint. You are aiming for slow coverage and a smooth appearance, not something rushed. Depending on how your kit
is positioned you should paint the inside or backside of parts as well; chances are you'l have a
mini gap somewhere or the inside of some clothing will show and it looks
unprofessional if primer is showing through.
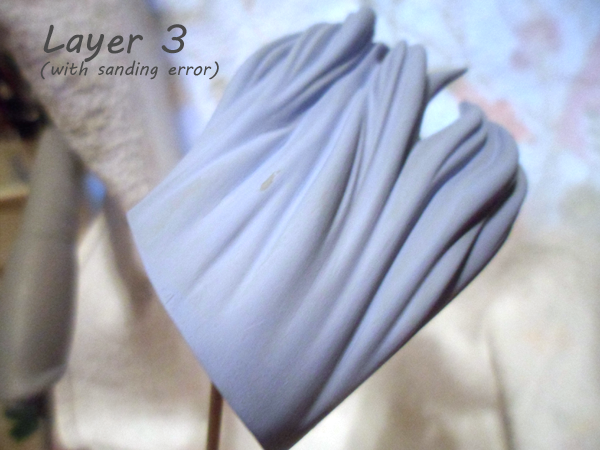
Since you're working with acrylics at some point little
hairs from your brush or tiny globs of paint will stick to your kit. Try to
sand these off with a high sandpaper as soon as you see
them or brush them off during painting. It is much harder to remove a dust
particle 6 layers in instead of when you see it. What grit? That depends...I've had to use 1500 on some kits but I used 400 grit on Len and it was fine. Each kit has its own quirks that you have to adjust to haha. Even after a few coats of paint your kit may look kind of bumpy...when that happens I usually either a) live with it because it's the craft paint's fault or b) seal it, see what it looks like, and paint over it again or strip the paint and start over. It is extremely rare to see a hand-painted kit look like PVC, that's what an airbrush is used for. You can always manipulate photos/lighting ;)
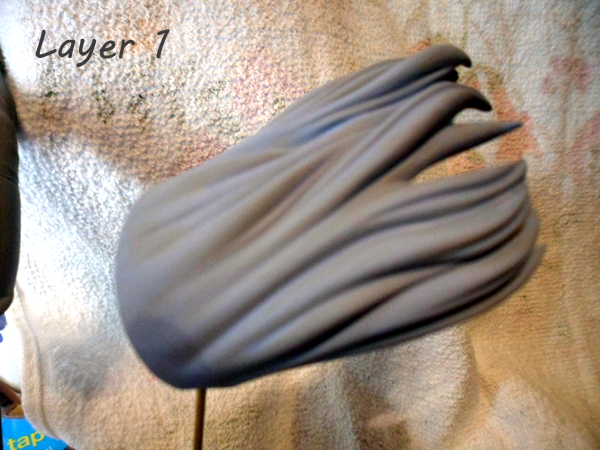
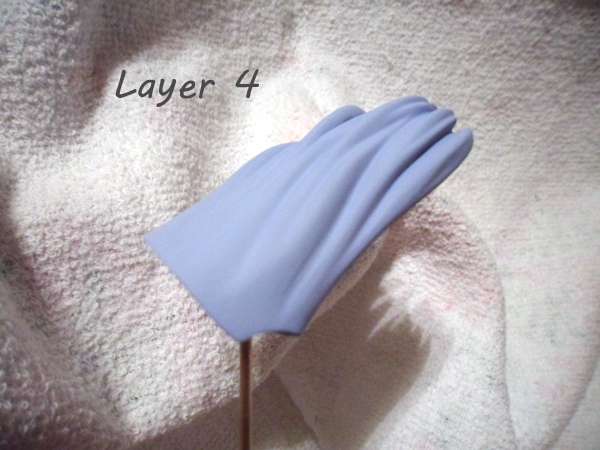
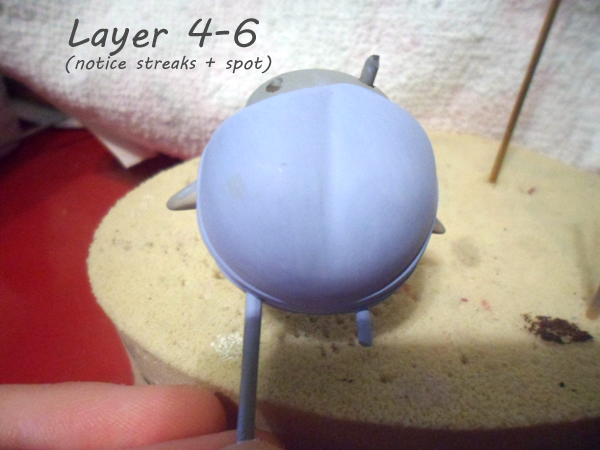
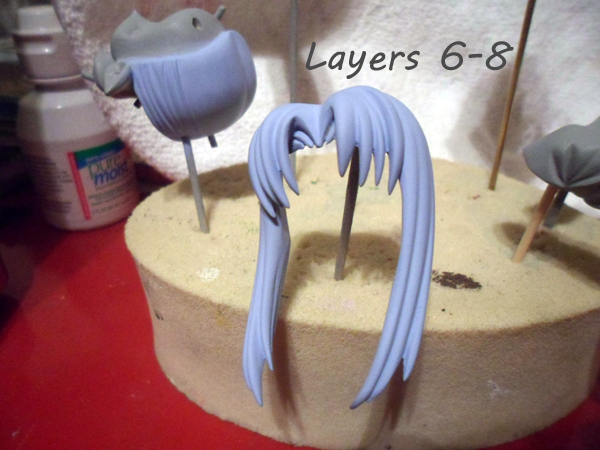
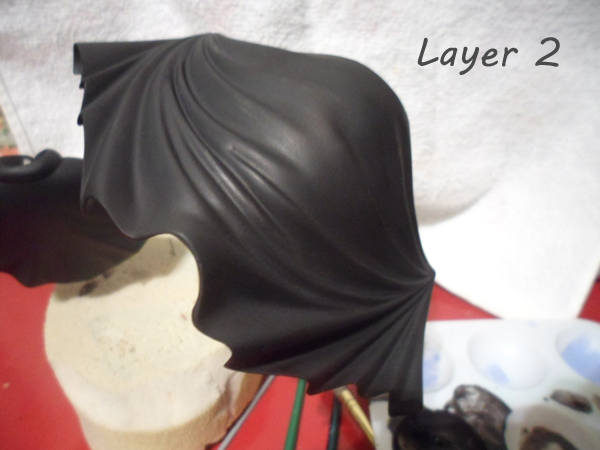
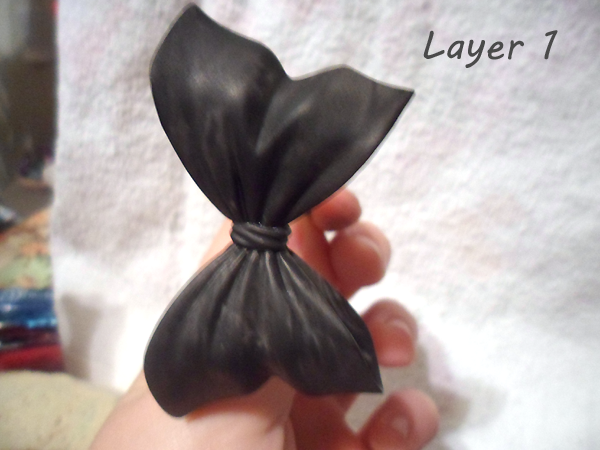
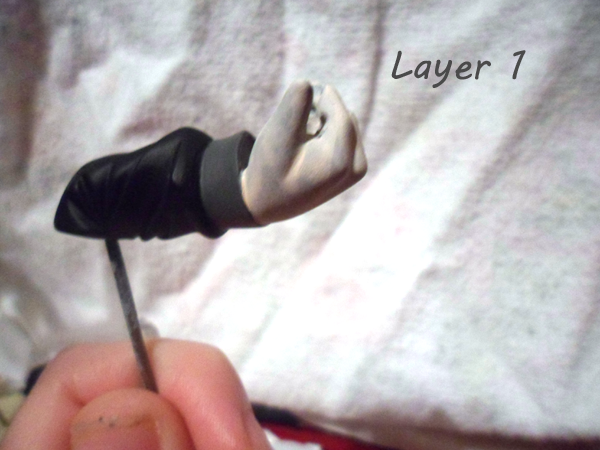
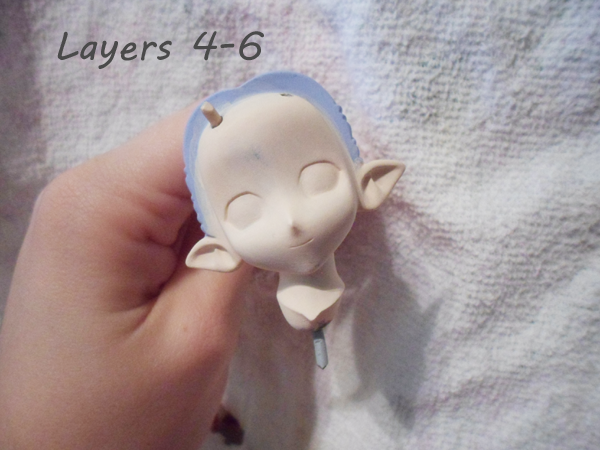
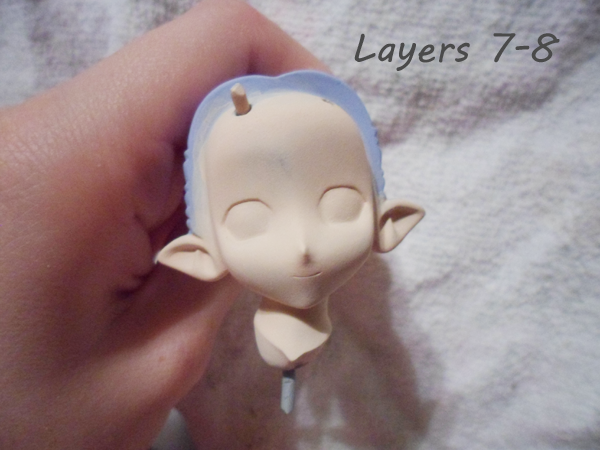
Oh boy, NOW I'm ready to show off the onslaught of photos! Each "layer" indicates a thin coating of paint. Aim to paint until the primer is completely covered, your colors are bright, and the details are still noticeable.
** If you need to see detail please click the images, they are reduced to preserve space**
** If you need to see detail please click the images, they are reduced to preserve space**
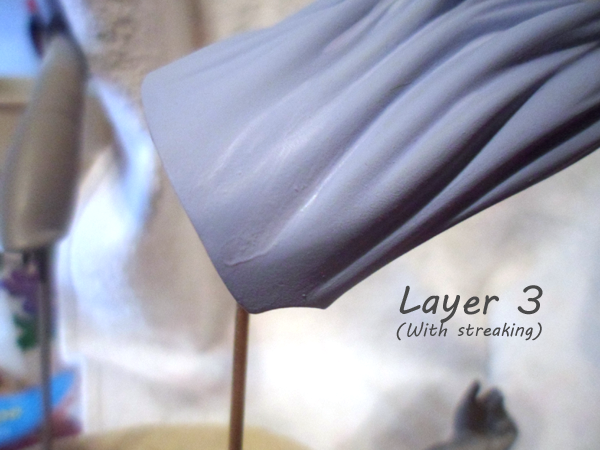
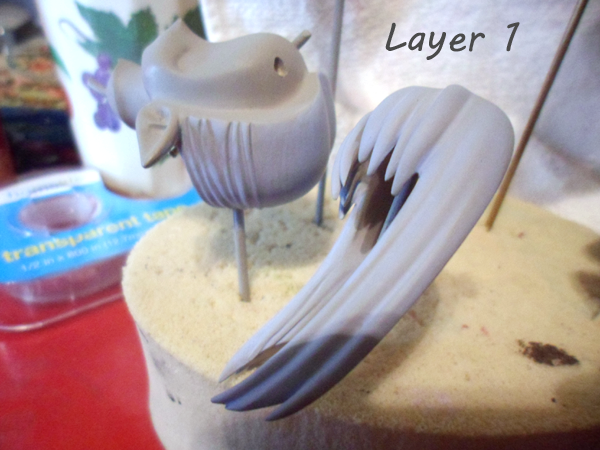
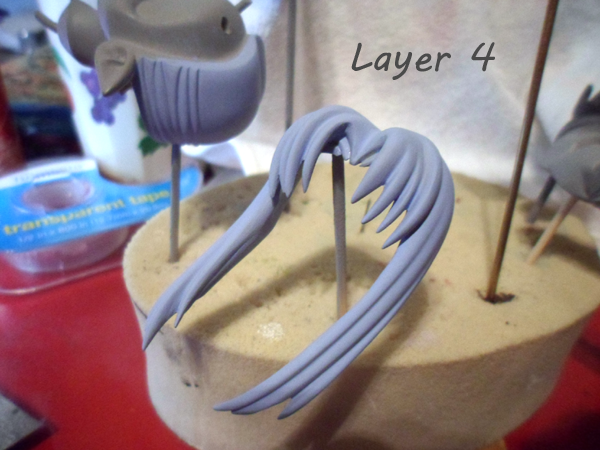
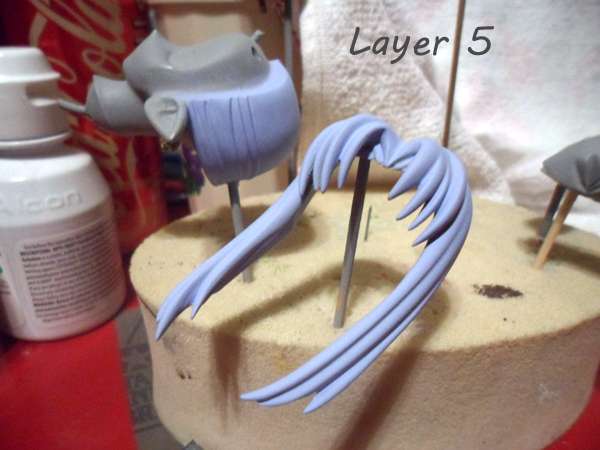
HAIR LAYERS:
Back hairpiece:
Back hairpiece:
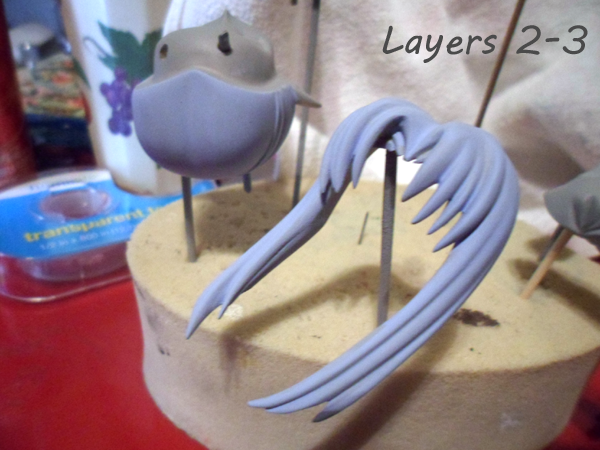
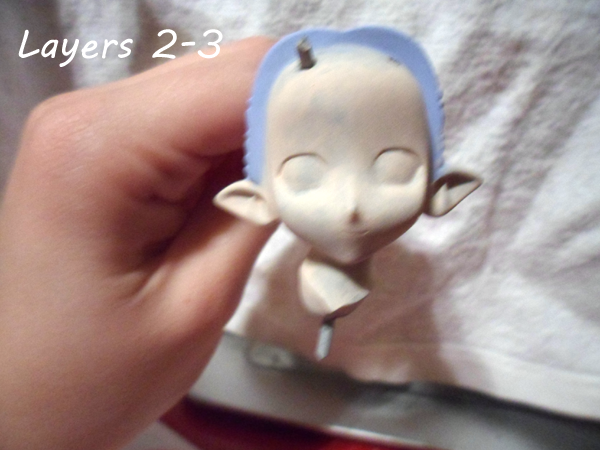
Back of head:
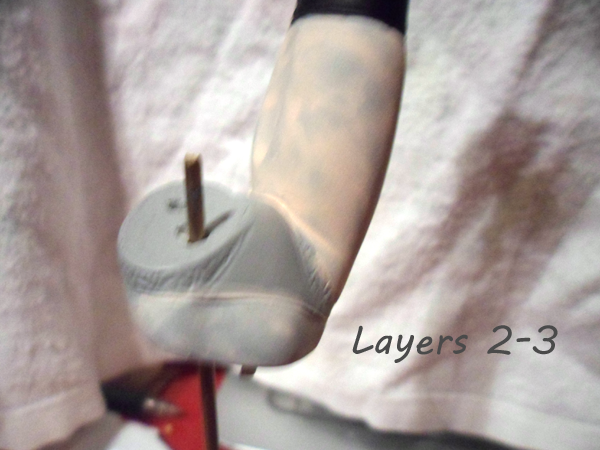
I had to use the same Layer 2-3 photo because I forgot to take one separately, sorry >_<
Front hair:
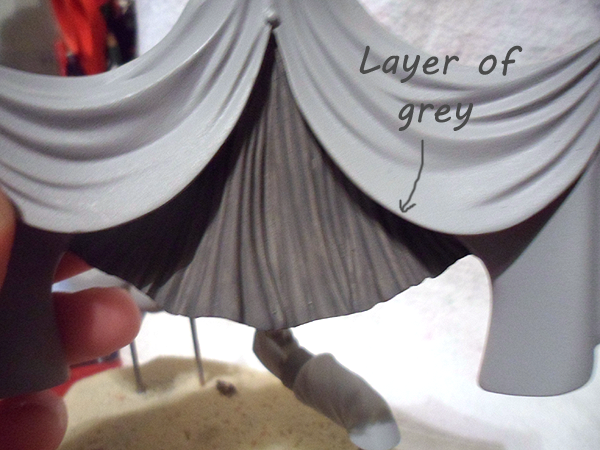
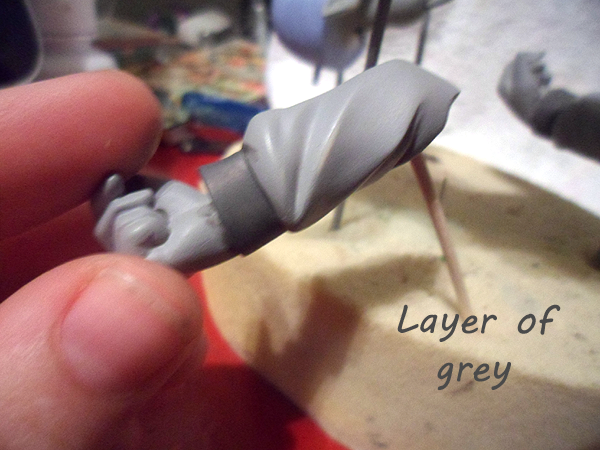
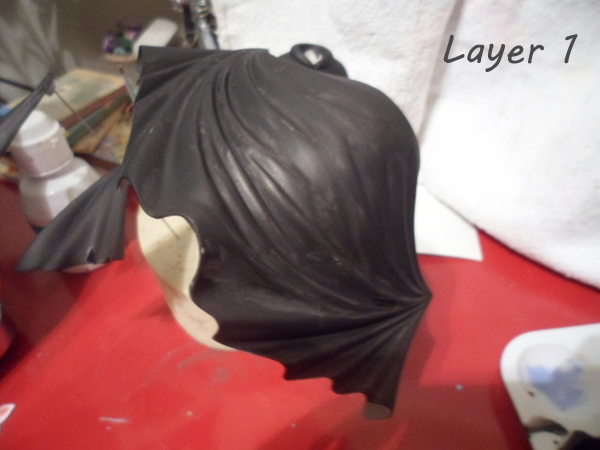
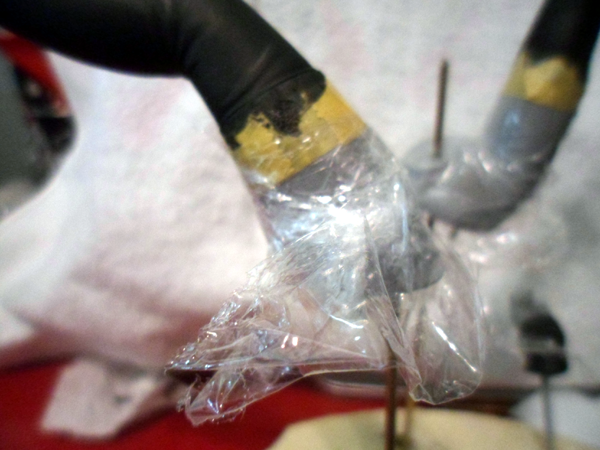
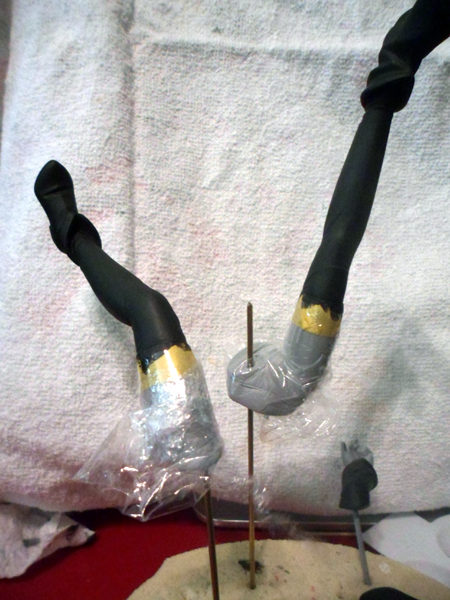
Clothes Layers:
Black and grey are a lot easier to apply as long as you don't water it down too much so I didn't take very many pictures (these parts are boring anyway)
Use masking tape and/or saran wrap if you don't want paint on certain areas.
Easiest paintjob ever, her shoes and stockings are both a deep black.
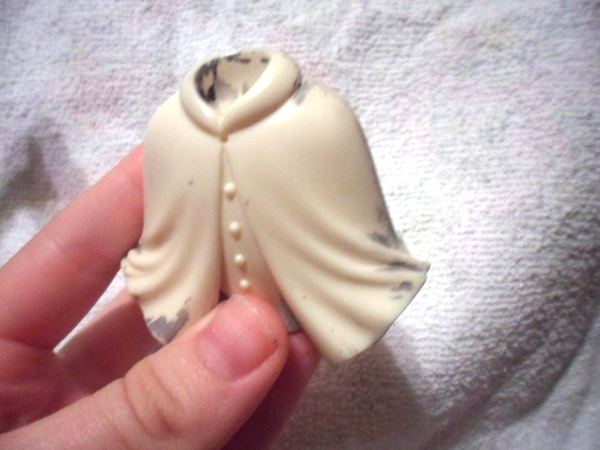
At one point the paint on my figure's shirt became streaky I decided to completely re-paint it. If you are not satisfied with your results (assuming you're using water-based paint, I'm not sure about other kinds like lacquer and enamel) you can always stick it in a cleaning solution, strip the paint and primer, and try again.
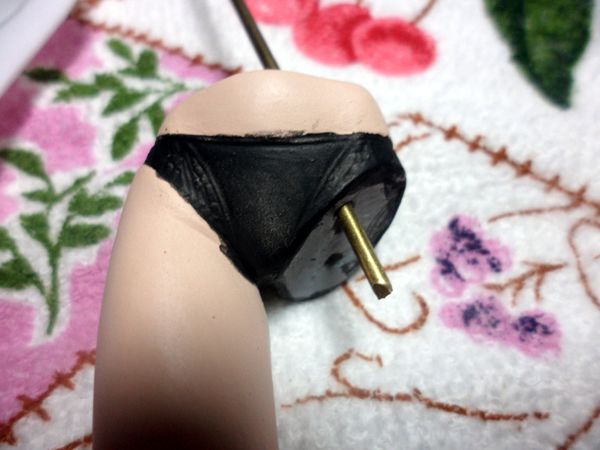
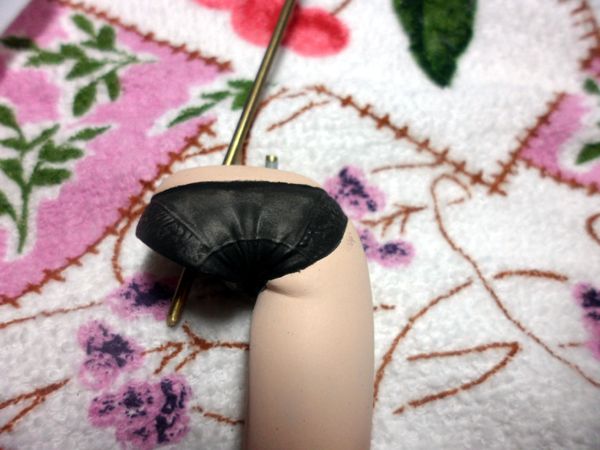
The panties were painted after the skin; I gave them a light coat of paint, rubbed some off, and shaded some areas to give it more of a transparent look. This technique is similar to a wash and it is kind of one step up from painting regular layers so only try it once you're comfortable with your skills.
Skin Layers:
Mixing the paint (Skintone, some white, and a little pink):
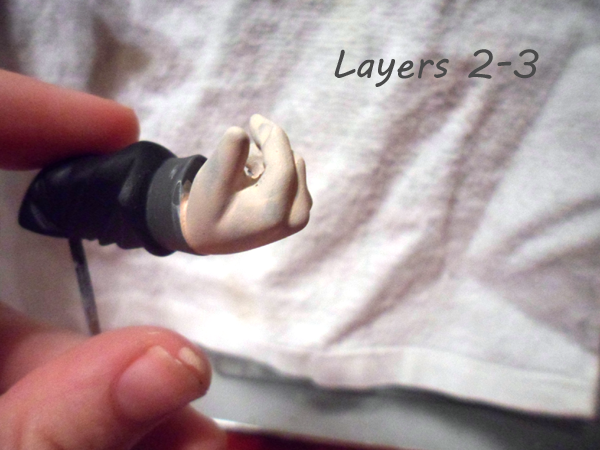
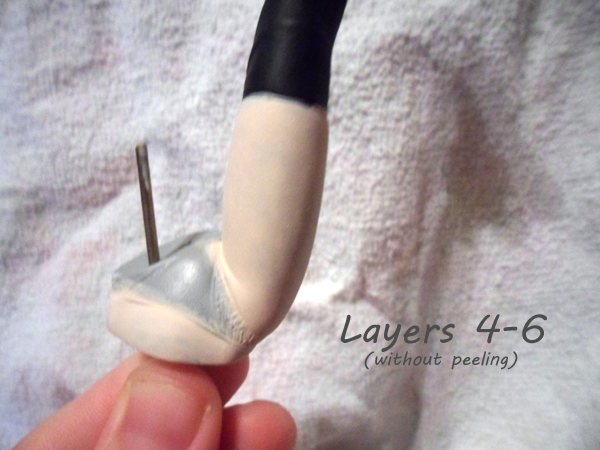
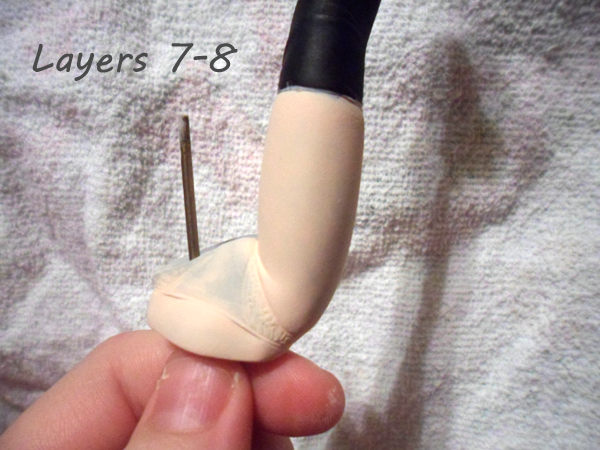
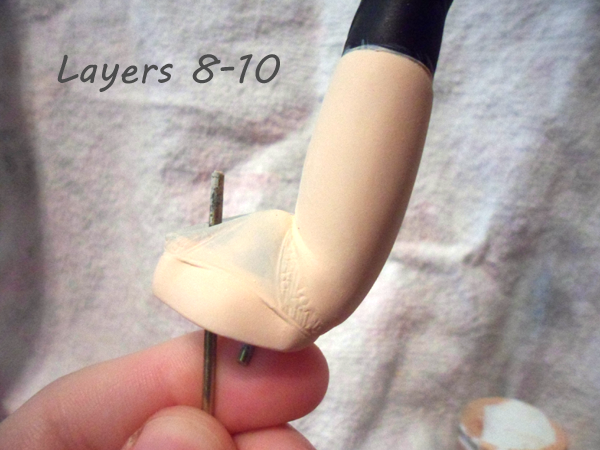
Hand layers:
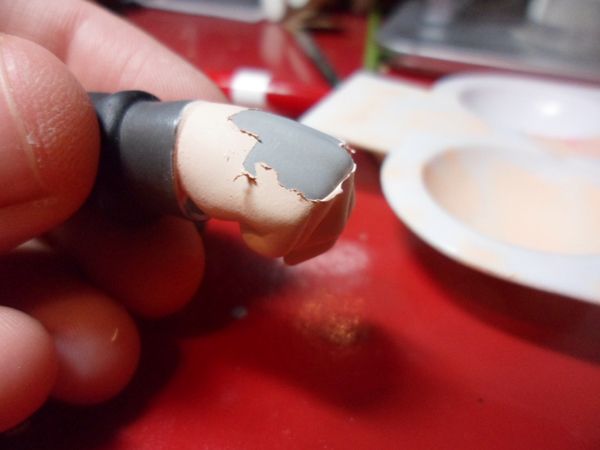
When the inevitable peeling occurs you're basically screwed unless you manage to take off the tiny bit of peel...I had to repaint the whole hand because of this. It's okay to be frustrated but don't be discouraged!
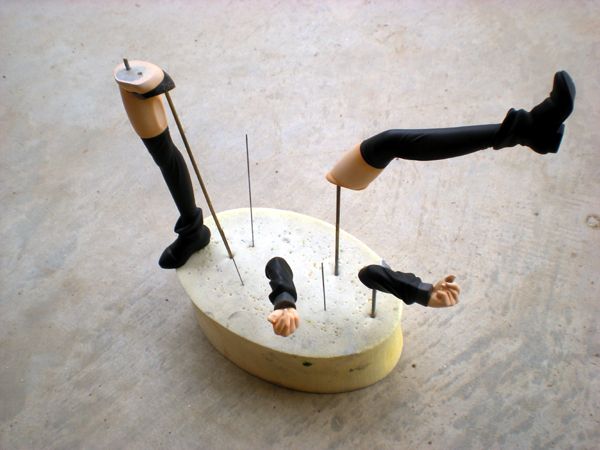
Leg Layers:
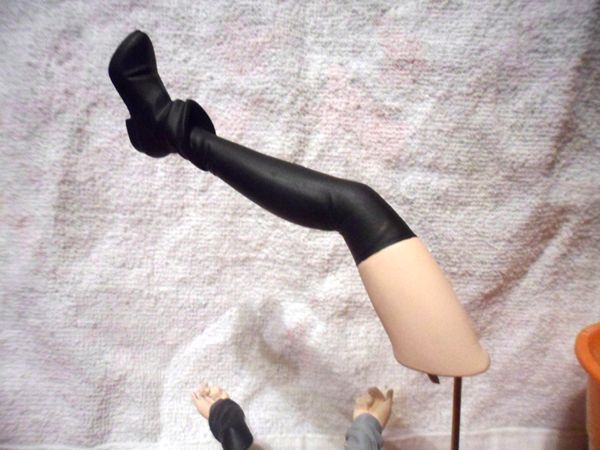 |
| A nice leg after painting |
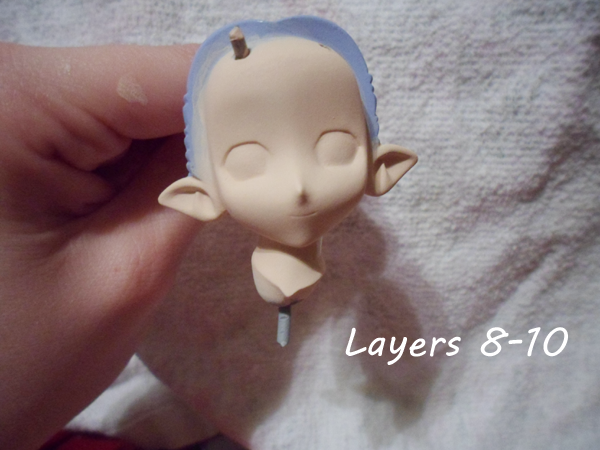
Face Layers:
After all the parts are covered in paint they should look something like this:
When you're satisfied you can then go back in and fix paint spills, splotches, or detail work in order to make sure the edges look crisp and clean. Work with a smaller brush to pinpoint areas that need work.
-------------------------------------------------------------------------------------------------------------------------------------------------------------
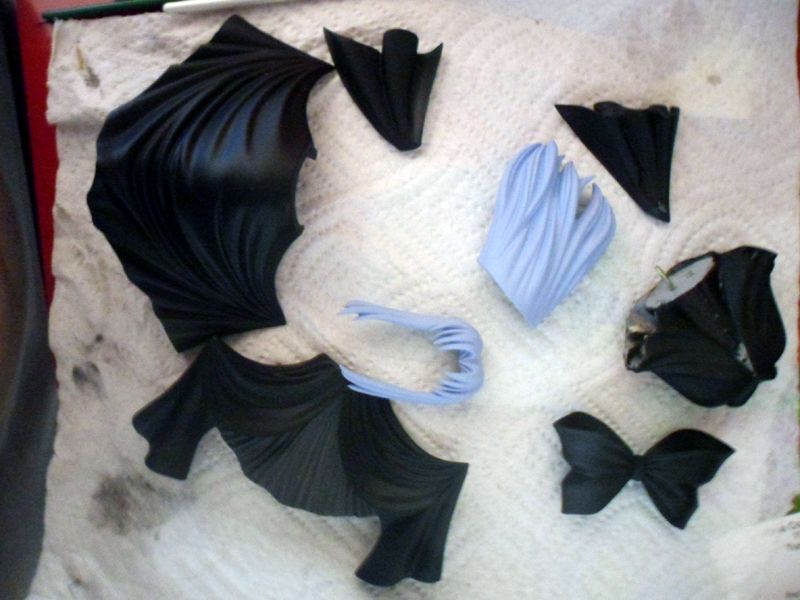
After you've finished painting your work some people move straight into shading and/or displaying their kit. One of the most important things you should do when building is seal your work! A sealant (sometimes called a top coat) protects your kits from scratches and paint transfers. If your kit has any chance of being scratched or falling (newsflash: there is a BIG chance) then you should seal your work! Hobby sealer comes in many different types and may be matte, satin, or shiny. You should choose the proper sealer for certain parts of your kit...a GK's belt buckles and eyes may be shiny but they could be wearing cotton clothes which are more matte. Adjust the type of sealer you have and your kit will stand out.
I like to use matte sealer since shiny sealer sometimes makes the kit look like plastic. There are tons of different sealers out there so pick and choose depending on what you like. Be sure to spray outside!
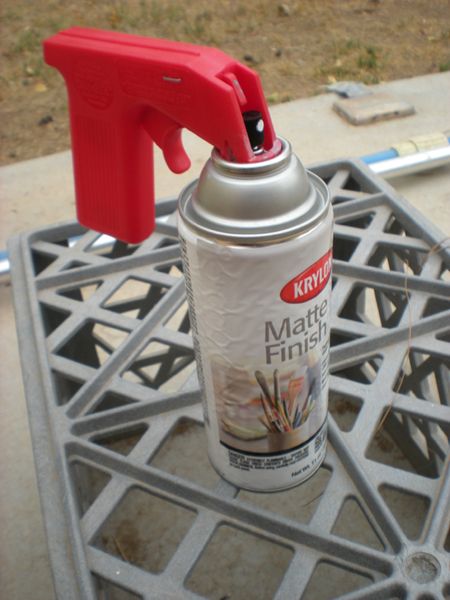 |
| My Matte Finish with the spray-gun attachment |
Spraying sealer is almost exactly the same as primer. All that's involved is holding the piece up, pressing the trigger and making sure you're spraying far enough away from the piece. Older sealers or spraying too close may cause your kit to have a frosted, yellowish tint and if that happens you're in bad shape...I have never been able to salvage a piece that had this nasty coating on it and I have had to start all over. Please test out the sealer before using it on your pieces or you may end up with more work to do!
 |
| A few pieces that were sprayed outside |
-------------------------------------------------------------------------------------------------------------------------------------------------------------
WOW I realize that is a lot of information to take in but this covers all of the base-painting techniques as well as sealing. I'm splitting this post because the final section will cover other details like painting the eyes, shading, making a few props and that one has quite a few pictures too. The details are the best part so you don't want to miss out! Thanks for reading :)
No comments:
Post a Comment